
Before following the instructions in this article make sure you have consulted Installing the Valant Word Add-in on a PC first
Instructions
- Open Microsoft Word
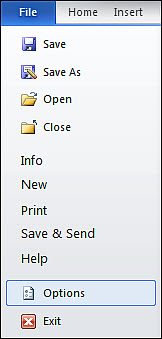
- Click File | Options (for older versions of MS Word click the Office Button | Word Options)
3. On the Add-Ins Tab, check to see which section the Valant Word Add-in is listed in
4. From the Manage drop-down box, select "COM Add-ins" if the Valant Word Add-in is listed in the Inactive Applications Add-ins section
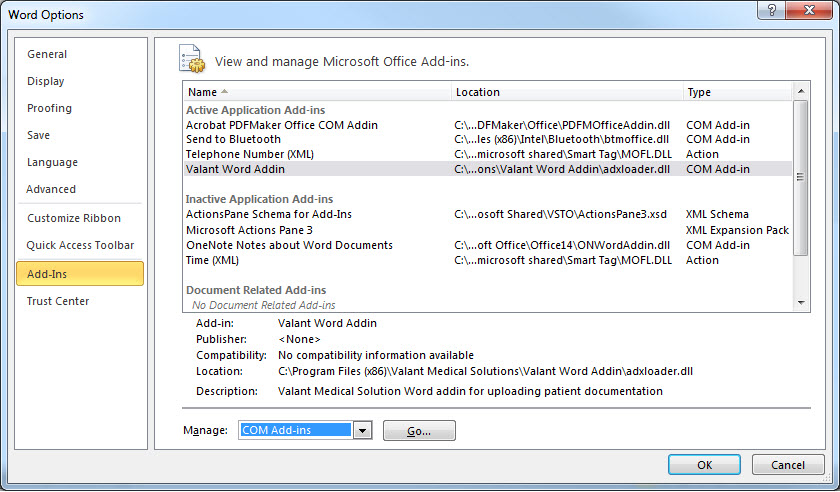
5. Select "Disabled Add-ins" if the Valant Word Add-in is listed in the Disabled Application Add-ins section
6. Click GO.
7. In the new window, check mark the Valant Word Add-in entry and click OK.
Word will need to be closed and reopened in order for changes to take place. The next time a Valant Templated Document is opened, the Valant Tab should appear in the Office Ribbon.
Occasionally, the Valant Word Add-in may be disabled or become inactive after installing updates from Microsoft Update.