
The "Manage Custom Tabs" page is accessible by users with the Admin Access permission by selecting Tools | Manage Custom Tabs.
In order for custom fields to display, a custom tab will need to be created To create a custom tab:
- Click Tools | Manage Custom Tabs | +New
- On the "Custom Tab" complete the "EMR Label" and "Report Label" text boxes

- On the "Custom Fields" tab select a field previously created field on the "Manage Custom Fields" page

- Click Save
After they have been saved users can customize the display order of Custom Fields to display. Users can order the included custom fields in one or two columns. Fields can be reorder and divided into columns by dragging and dropping the icon next to the custom field selection. Putting items in two columns will maximize the amount of space taken on the custom tab and will require less scrolling. 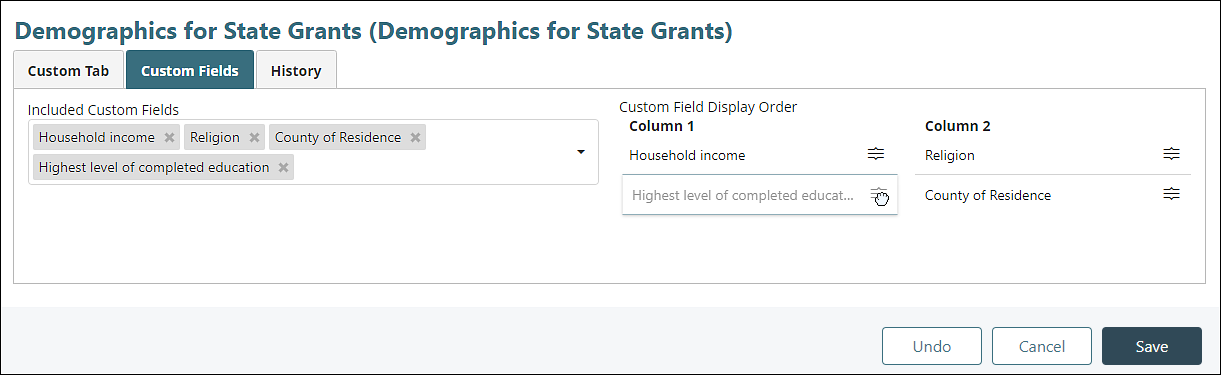
The custom tab will now appear in the EHR after clicking Persons and Institutions | Patients | Custom.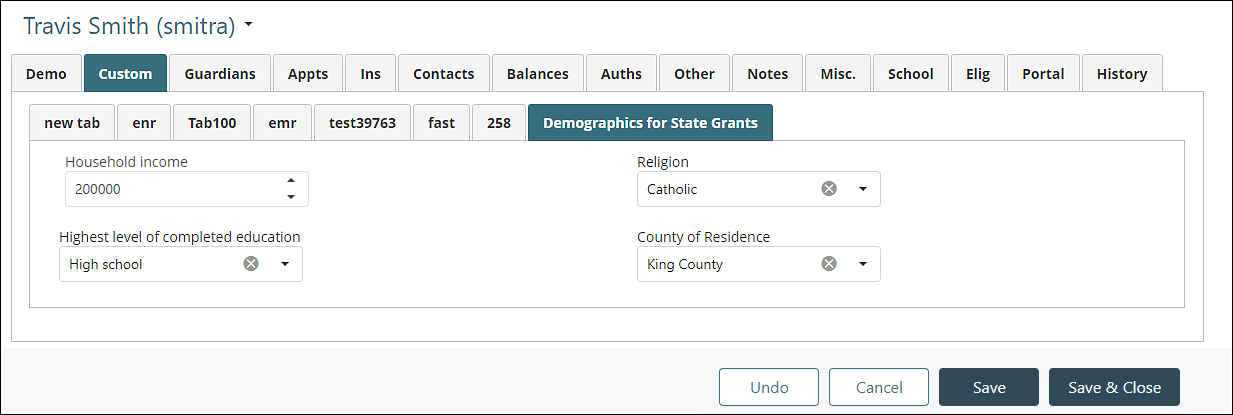
In the screenshot above, you can see that organizing the custom fields into two columns is a more efficient use of the page and will require less scrolling if there are multiple fields to complete.
Options to appear in the the fields can be configured on the Manage Custom Fields Page