Custom Forms is only available to select practices at this time. This feature will be available to all practices with Power and Premium subscription plans soon. Watch for future communications about the availability of this feature for your practice.
Custom Forms enables practices to build advanced forms and deliver the appropriate documents to patients based on the services they seek. This article provides an overview of navigating the Forms, Packets, and Requests tabs; as well as creating new packets and requests.
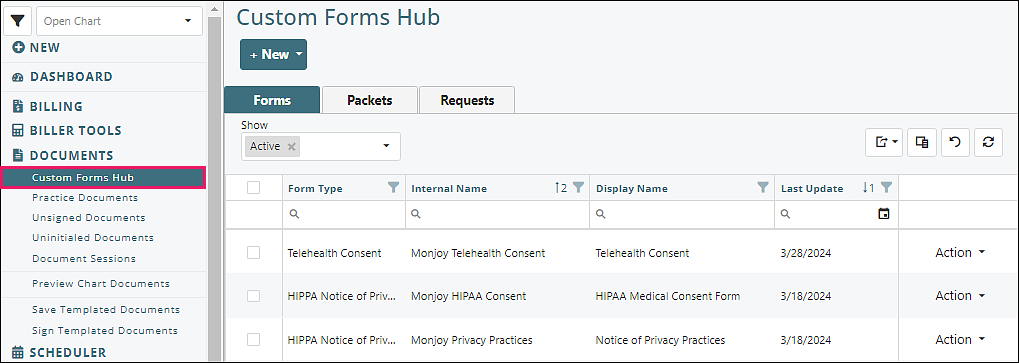
Navigate to Documents | Custom Forms Hub
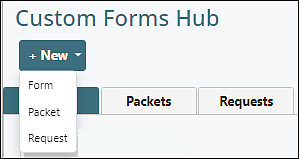
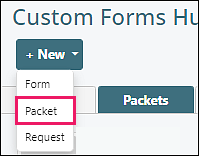
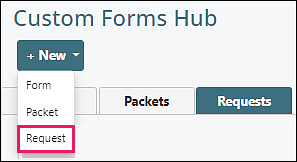
+ New: Click an option from the drop-down list to create a form, packet, or request
Forms Tab
This section describes the components of the Forms tab. All created forms can be seen and managed from this page. See Custom Forms (Valant eSignature) Creating a Form article for information on creating and managing forms.
Navigating to Documents | Custom Forms Hub opens to the Forms tab.
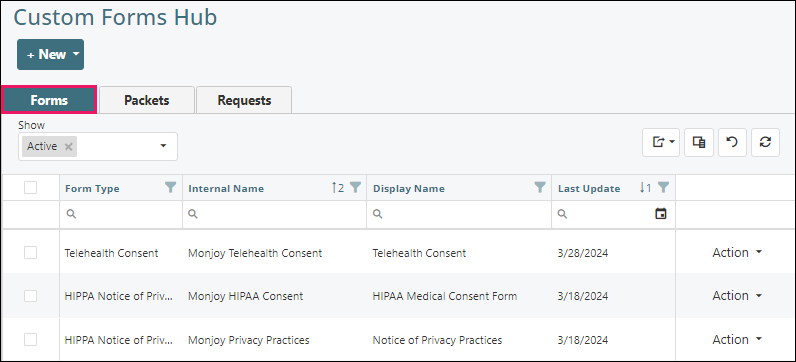
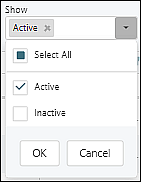
“Show” Drop-Down Options allows filtering of created forms by Active or Inactive or both.
Top Right Icons
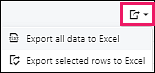 |
Exports the selection to an Excel spreadsheet |
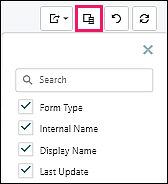 |
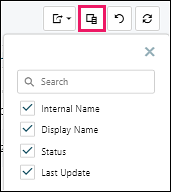
Provides list of options to customize which columns appear |
 |
Removes all filters that have been set for any field |
 |
Refreshes data if any changes were made |
Column Filtering Tools

- Filter Icon: Click on icon and check boxes to display selected column data, click OK to save filtered selections
- Reorder arrow: If clicked, updates list order to ascending or descending
- Search Icon Field: Type in text to select specific column data
- Calendar Icon: If present, filter by date
Columns:
- Select
- Form Type
- Internal Name
- Display Name
- Last Update
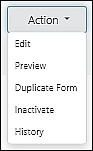
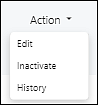
- Action Options
See Custom Forms (Valant eSignature) Creating a Form article for information on creating and managing forms.
DeletePackets Tab
Practices can add forms to multiple eSignature packets according to intended services and purpose. The packet can contain one or multiple forms. This section describes the components of the Packets tab and steps to add a new Packet. All created Packets can be seen and managed on this page.
Navigate to Documents | Custom Forms Hub | Packets tab
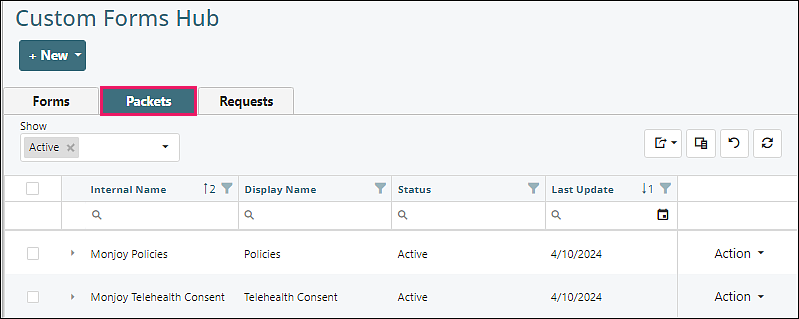
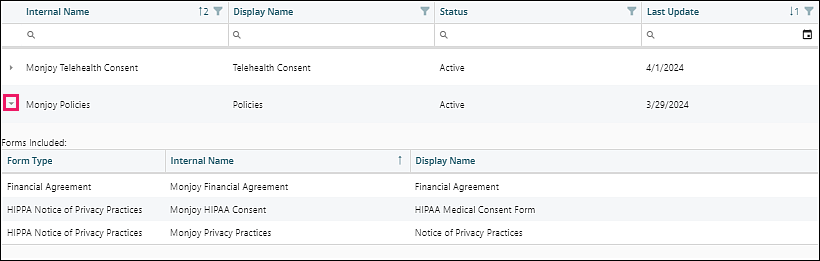
Clicking the triangle to the left of the "Internal Name" expands the view to show the forms included in the packet.
Create a Packet
Select “Packet” from the “+ New” drop-down menu
The "New Packet" window will appear
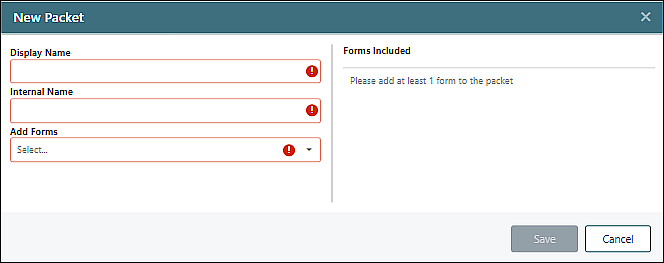
Required fields have a red border and icon. Enter or select information for fields, click Save
Page Components and Functions
“Show” Drop-Down Options allows filtering of created forms by Active or Inactive or both.
Top Right Icons
|
Exports the selection to an Excel spreadsheet |
 |
Provides list of options to customize which columns appear |
|
Removes all filters that have been set for any field |
|
Refreshes data if any changes were made |
Column Filtering Tools

- Filter Icon: Click on icon and check boxes to display selected column data, click OK to save filtered selections
- Reorder arrow: If clicked, updates list order to ascending or descending
- Search Icon Field: Type in text to select specific column data
- Calendar Icon: If present, filter by date
Columns:
- Select
- Internal Name
- Display Name
- Last Update
- Action Options
Requests Tab
This section describes the steps to manage Requests, steps to add and send Requests, and components of the Requests tab.
Navigate to Documents | Custom Forms Hub | Requests tab
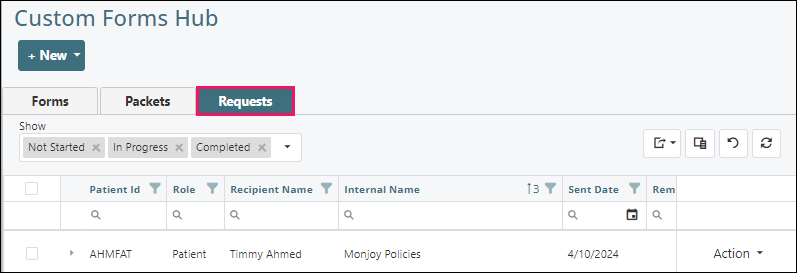
Clicking the triangle to the left of the "Patient Id" expands the view to show the forms included in the request and the status of each.

Create and Send a Request
Select “Request” from the “+ New” drop-down menu
The "New Request" window will appear
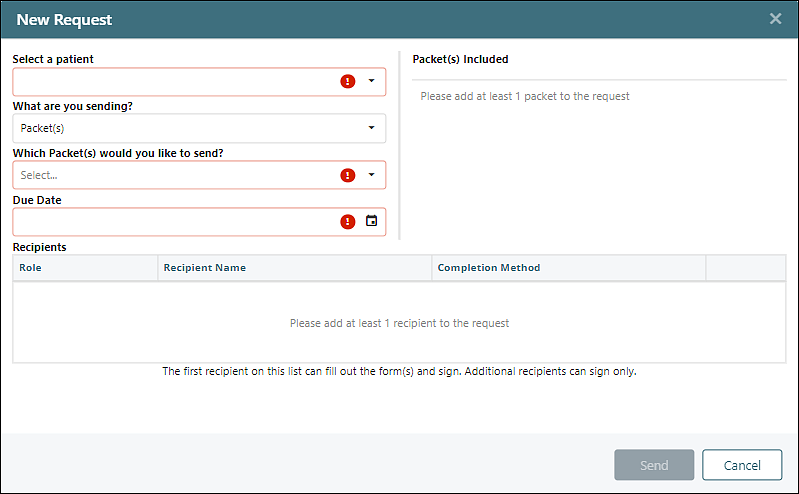
Required fields have a red border and icon.
- Select a patient: Each request needs to be associated with one patient.
- What are you sending?: Select Packet(s) or Form(s)
- Which Packet(s) (or Form(s) if selected for sending) would you like to send?: Select from list
- Due Date: Add the date for the request completion
Adding and Managing Recipients
The first recipient defaults to the selected patient.
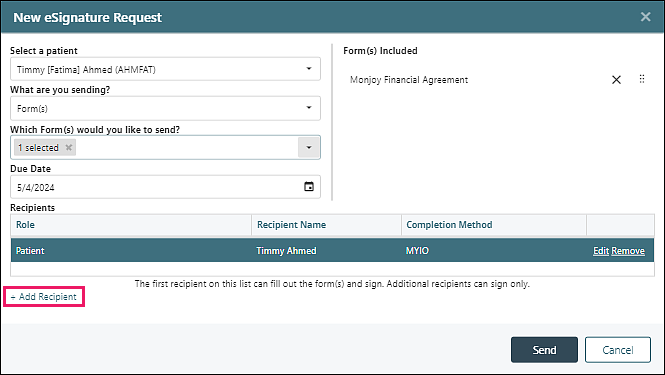
Click + Add Recipient to involve more signers (associated with the patient in the patient record - Guardian/Guarantor). Click Save to complete the addition.
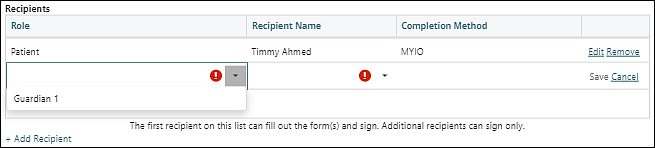
The user can remove and add recipients in the Recipients list to achieve a desired order.
Review entered or selected information, click Send.
An email will be delivered to the patient (and other recipients, if added) letting them know they have documents to review and/or sign via MYIO or email.
Page Components and Functions
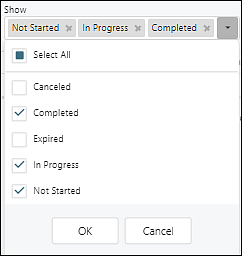
“Show” Drop-Down Options allows users to choose which requests to view.
Top Right Icons
|
Exports the selection to an Excel spreadsheet |
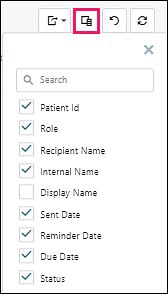 |
Provides list of options to customize which columns appear |
|
Removes all filters that have been set for any field |
|
Refreshes data if any changes were made |
Column Filtering Tools

- Filter Icon: Click on icon and check boxes to display selected column data, click OK to save filtered selections
- Reorder arrow: If clicked, updates list order to ascending or descending
- Search Icon Field: Type in text to select specific column data
- Calendar Icon: If present, filter by date
Columns:
- Select
- Patient Id
- Role
- Recipient Name
- Internal Name
- Display Name
- Sent Date
- Reminder Date
- Due Date
- Status
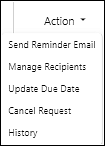
- Action Options