This article will detail how to refund a credit card payment that was accepted as a prepayment. Money accepted or converted to a prepayment in Valant is not counted as revenue for the practice until it is applied. In order to credit the money back to the patient it will need to be applied to a date of service first, then edited. There is no direct way to issue a prepayment credit without applying the money first. The following workflow will need to be used in order to issue a credit card credit for a credit card payment accepted as a prepayment:
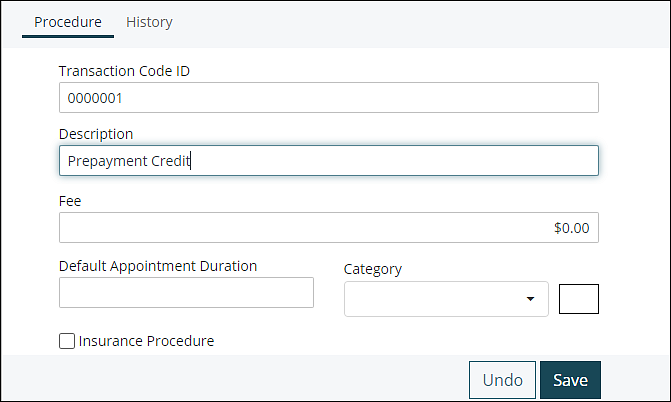
- The first step of issuing a credit card credit for a prepayment is to select an existing charge to apply the prepayment to, or create a new charge specifically for for the purpose of applying the credit. Some practices chose to have a custom Procedure code for this purpose. Having a specific code will ensure the credit is documented correctly on statements. If an existing charge is used the record of the credit will still be shown.
- Once you have identified an existing charge or created a new charge for the credit to be applied the next step is to apply the prepayment to be credited to the patient.
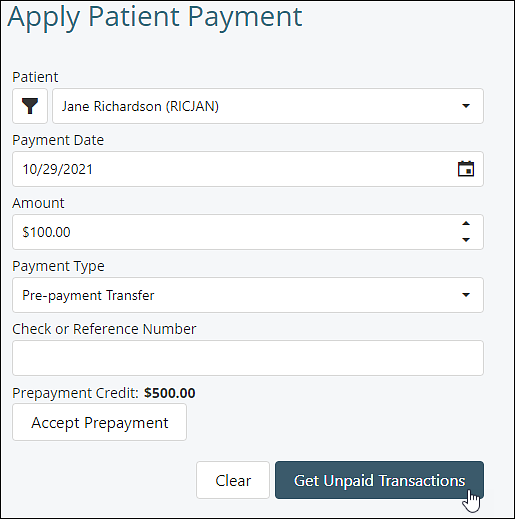
- Navigate to the Apply Patient Payment page and select Pre-Payment Transfer. Complete the details and select Get Unpaid Transactions.
-
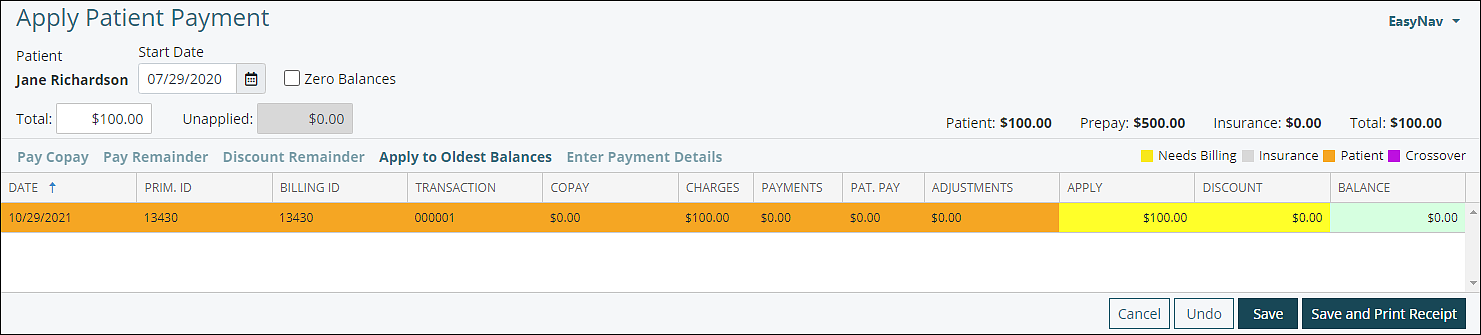
Apply the Prepayment to the date of service and click Save.
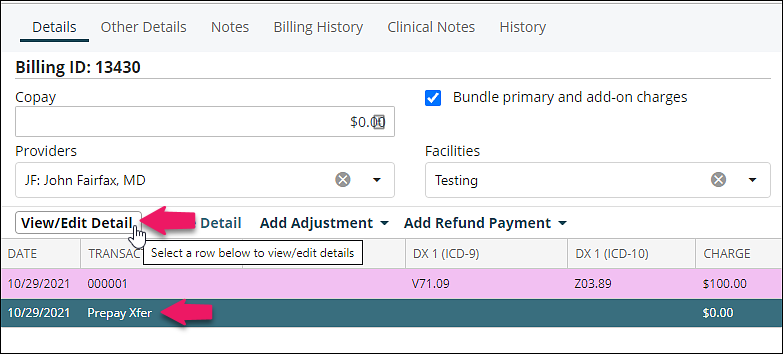
- When the money is applied to the charge it is applied as a Pre-payment Transfer type. This will need to be manually edited in View/Edit Charges before it can be applied as a credit. Navigate to View/Edit Charges and select the charge the prepayment was applied to.

- Select the Prepray Xfer line item and click View/Edit Detail.
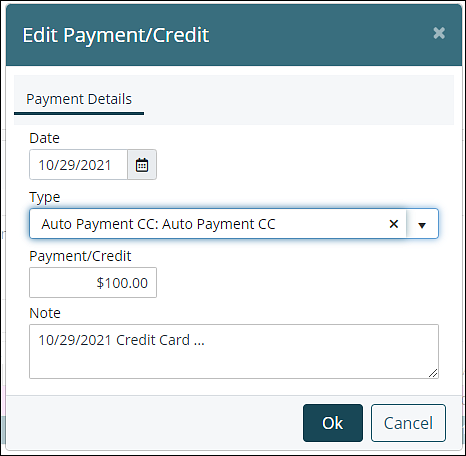
- Edit the payment type to "Auto Payment CC: Auto Payment CC" and click OK.Once this step is compete the payment will be visible through the Apply Credit Card Credit workflow.
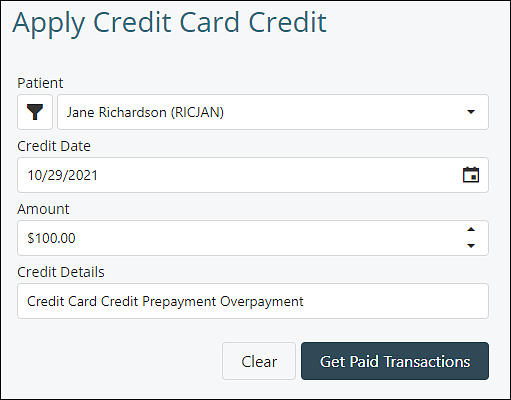
- Select Apply Credit Card Credit from the Navigation Menu, compete the credit details and click Get Paid Transactions.
- The second Apply Credit Card Credit screen will appear with all eligible items that can be credited. The default on this page is to now show items with a zero balance. If you are not seeing an expected item here make sure to make sure the "Zero Balances" checkbox is selected if there is a zero balance, and your start date filter is correct.
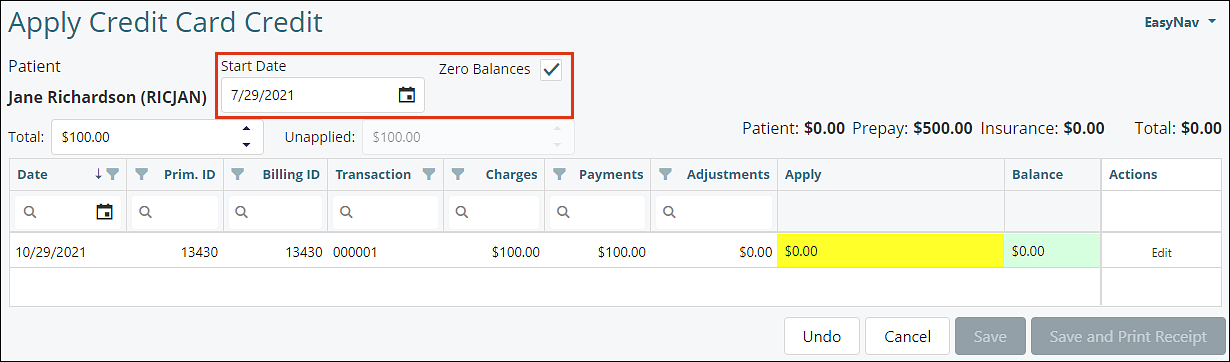
- After identifying the payment to be credited from put the amount in the "Apply Field". Note that in order for the "Save" and "Save and Print Receipt" button to be highlighted the "Unapplied" box must be $0.00.
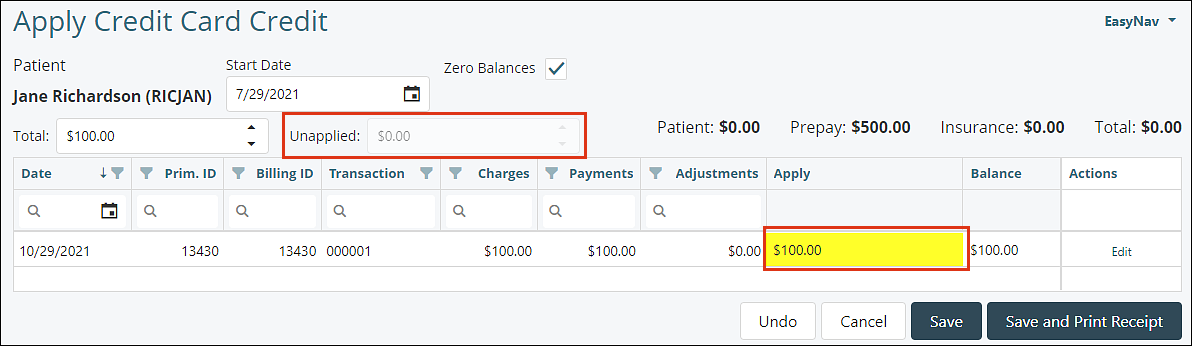
- Click Save or Save and Print Receipt.
- This will open the "Automated Payment Processing" window and allow you to input the card to be credited, or select a card from the Card Manager.
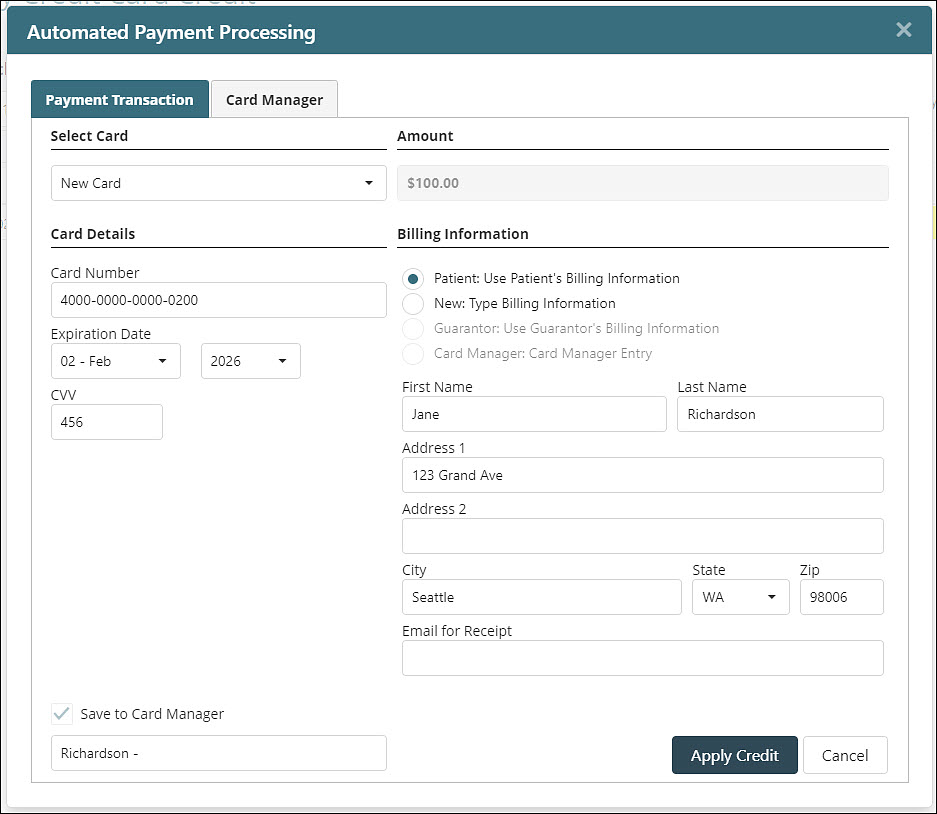
- Click Apply Credit to Complete the Credit Card Credit.
Note:
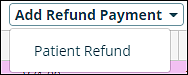
- The Add Refund Payment | Patient Refund option on the View/Edit Charges does not actually credit a card or issue a refund to the patient. It is a mechanism to note a refund was issued outside of the Valant EHR.