
Guarantors represent the person or party who is responsible for billing the patient. Common examples of guarantors include parents for a child, legal guardians, employers, legal firms, or other third parties. Users can add guarantors to the EHR by selecting Persons & Institutions | Guarantors. They can also be added when entering patient demographic information from Persons & Institutions | Patients | Demo tab. 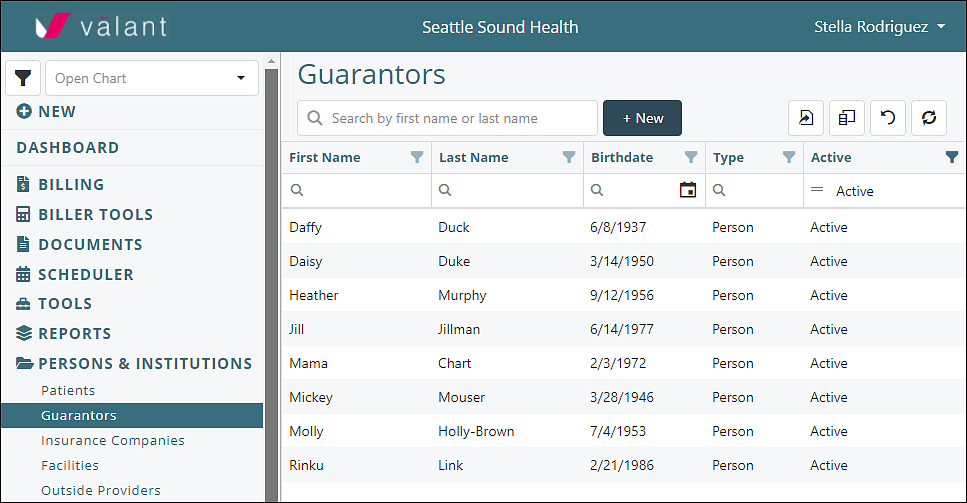
To add a new Guarantor from Persons & Institutions | Patients:
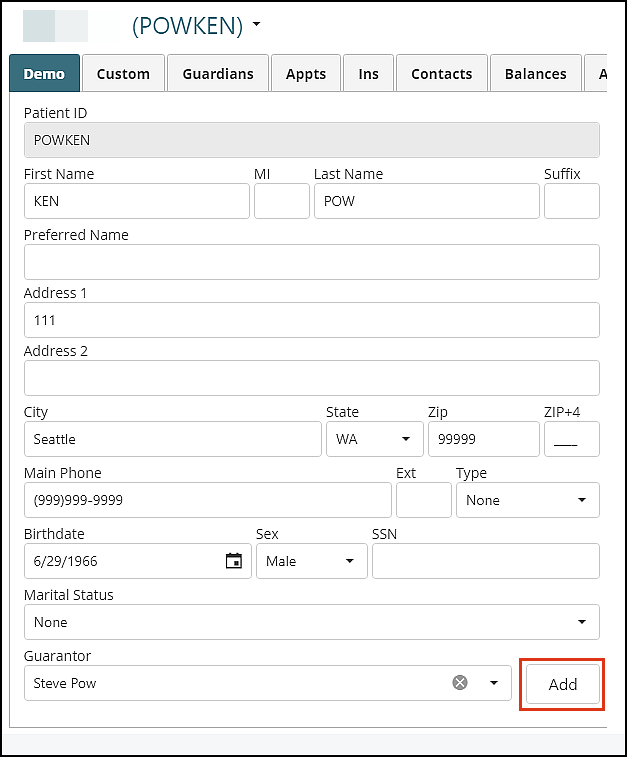
- Select a patient from the Persons & Institutions | Patients grid
- On the "Demo" tab click the Add button next to the "Guarantor" field
- In the "Add Guarantor" pop-up window enter the information for the Guarantor
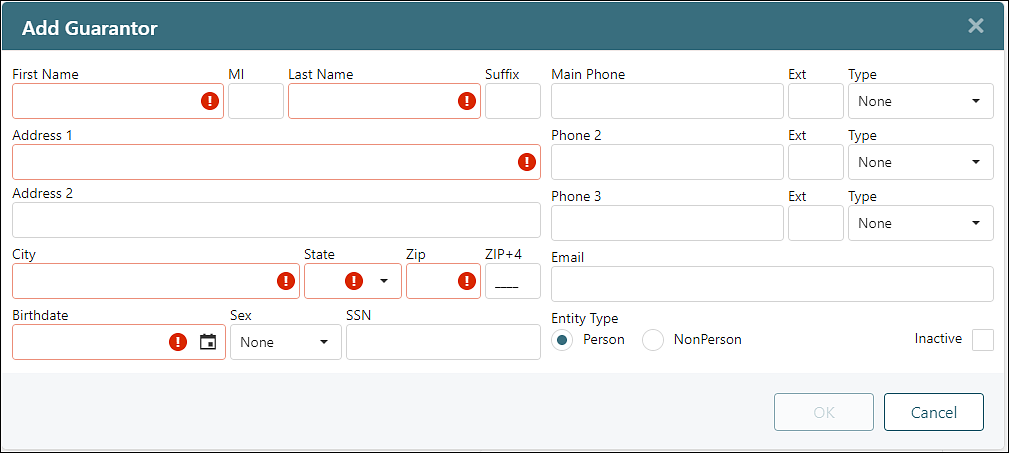
- Click Ok
- The Guarantor information will be added in the field, and will also appear in the Guarantors page

Note: Guarantors added through this method will be added to the drop-down and can be selected as the Guarantor and/or Subscriber for insurance information. It is not just adding them as the Guarantor for the one patient.
DeleteTo add a new Guarantor from the Guarantor page:
- Click Persons & Institutions | Guarantors | +New
- This will open the "New Guarantor" window
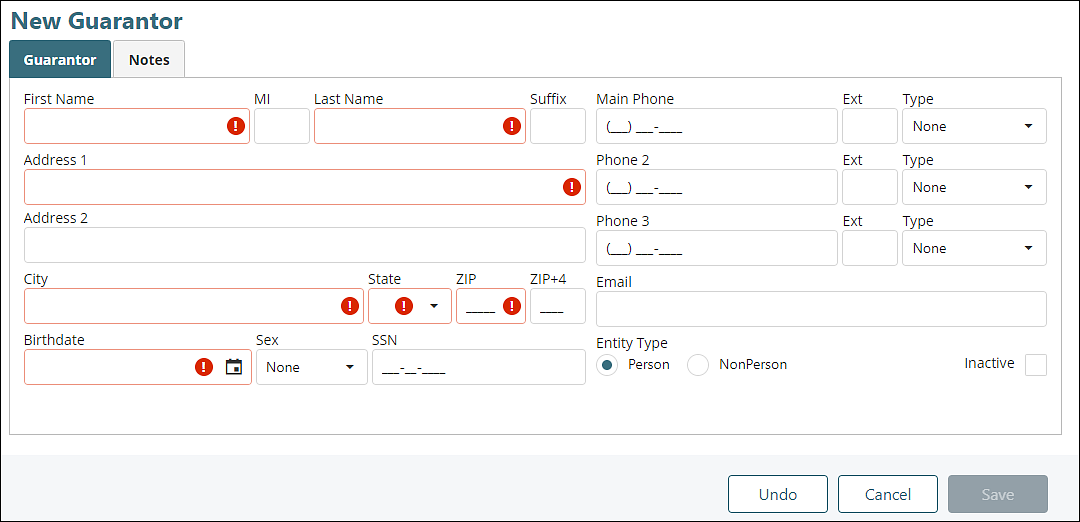
- All of the fields with the red exclamation mark and red outline are required. If the guarantor entity is listed as "Person", first name will be required. If the entity is set to "NonPerson", the same fields are required except first name and birthdate.
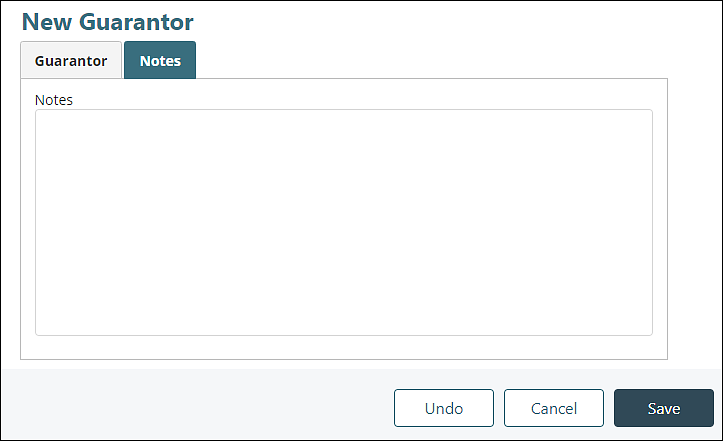
- There is also a "Notes" tab where a practices can add specific notes about the guarantor.
- Click Save
This will create the Guarantor in the EHR that can be assigned to one or more patient.
To Assign an Existing Guarantor:
- Click Persons & Institutions | Patients | select a patient
- On the "Demographics" tab use the "Guarantor" drop-down to select a guarantor

- Click Save