
Valant allows users to generate, view download and print a variety of reports. These reports are grouped into different categories: Appointment, Clinical, Billing, and CSV.
Depending on practices configuration, users will access reports one of two ways. To access reports either:
• Hover the cursor on the navigation menu over Reports and click System Reports.
or
• Hover the cursor on the navigation menu over Tools and click Reports
At the top horizontal bar of the System Reports you will see four drop-down options: “Appointments”, “Clinical”, “Billing”, and “CSV”. 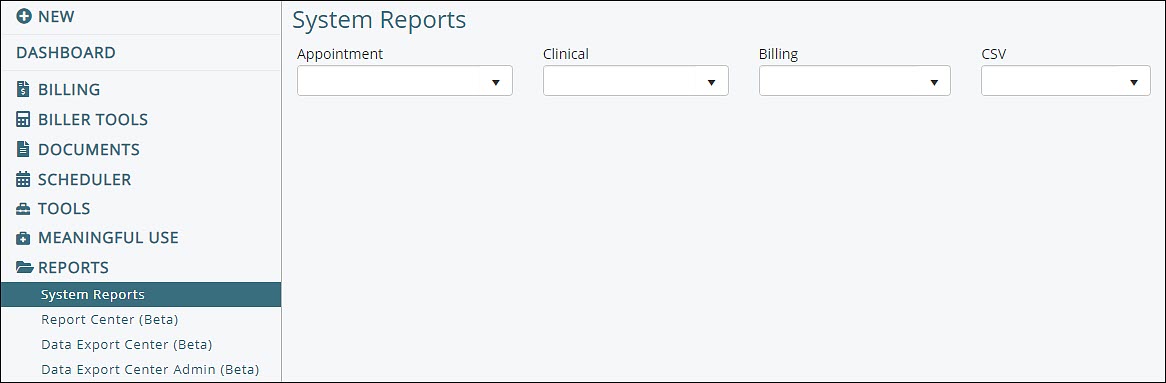
Directly below the report selection drop-down menu is a toolbar that can be used for navigating reports. This toolbar allows pagination, refresh, view print preview, print, save or export a report to a different format, and allow users to close the parameters area to view more of the report on screen.
For example, if a user wanted to run a report to view appointments they would want to run the "Appointments" report. To complete this the user would need to:
1. Click to open the drop-down menu for the “Appointment” report category.
2. From the list, click Appointments.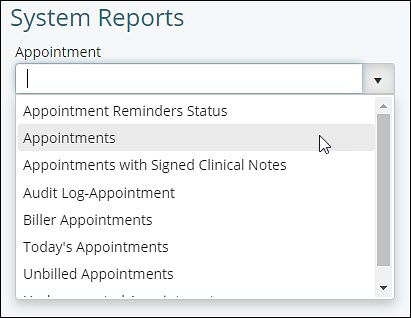 3. This will open the report with blank parameters. Users will then fill out at least the required fields with a red exclamation mark to the right, add any other parameters for reporting needs.
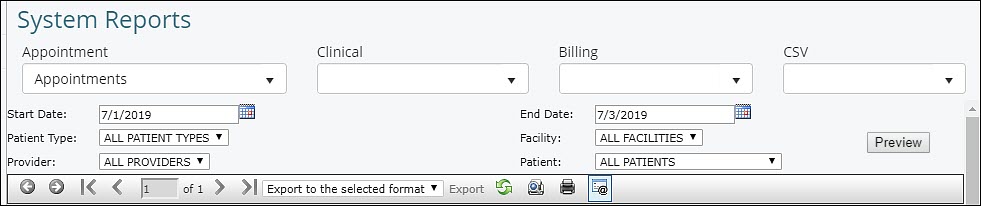 4. Once the parameters filters are set click Preview to generate the report. The report will populate on the screen.
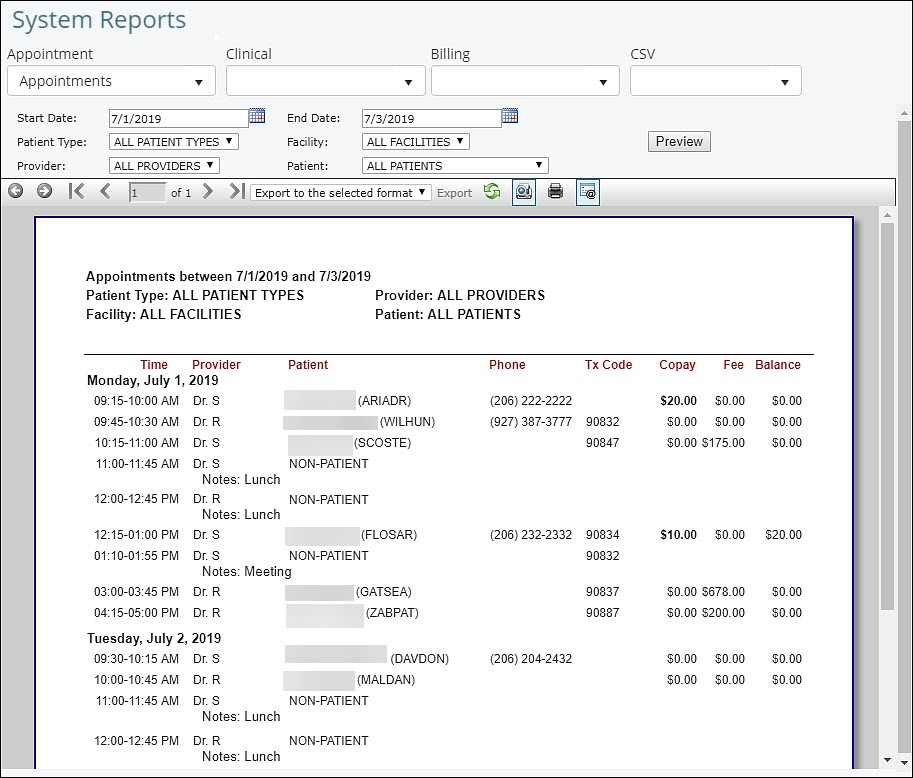
Once the report has been generated the user can review the data and utilize the toolbar at the top of the report. The report can be viewed either as a continuous stream or paginated. The toolbar contains a Print Preview icon, that will show a preview of how a report will appear on paper. Reports can be printed locally by clicking the Printer icon. The report will be generated as a PDF and can be downloaded ready to print to the local printer of choice.
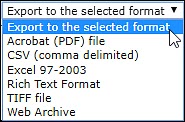
The report can also be exported in a variety of formats including PDF, CSV, Excel, PowerPoint, and Word by clicking the Floppy Disk Icon on the toolbar. These files can then be exported to searched, filtered and customize the data in a variety of ways.
There is an additional tool which allows the user to hide the parameter selections after a preview has been generated. This can be useful when the report has a large selection of parameters. To minimize the parameter selections simply click the Wrench/Screwdriver icon. To make the parameter selections reappear simply click the icon again.
Different versions of some reports can be compared based on changes made to parameters. An example is the Charges report in the Billing drop-down list of reports. If two Charges reports are generated, practices can utilize the arrows on the toolbar to switch between the two reports to easily compare two different reports.

Understanding the basics of how to navigate the System Reports will help utilize the reports to the practice’s advantage increasing efficiency and understanding. For more information on specific reports please review the following three articles: