
Valant has simple steps to turn a visit into a claim. These sections will describe each step as well as provide you with adding additional charges that may occur outside of the visit.
Overview
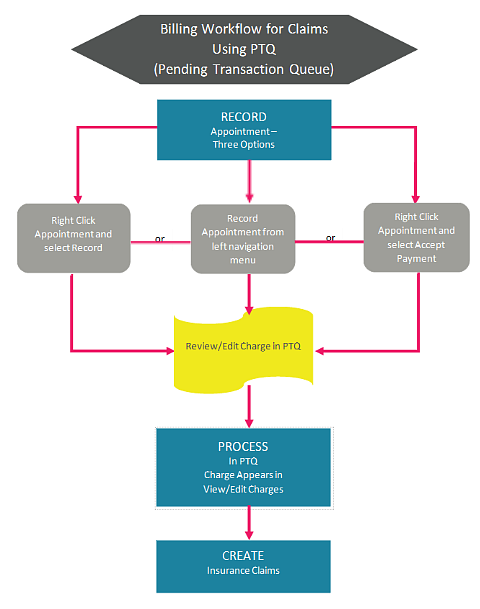
When practices have an internal workflow in which the coding and final review occur prior to recording an appointment, there is no need to have the Pending Transaction Queue feature turned on. When this workflow is used, recording the appointment will create the charge and send it to the patient’s ledger and if applicable, set the charge to bill the insurance.

Larger practices with billers who review each appointment prior to creating the charge may choose to use the PTQ feature. When this feature is active the charge appears in the PTQ under Billing Tools after recording the appointment. In the PTQ the biller can review/edit the CPT codes and modifiers. Once they review/edit the charge, they will process the charges which will then send the charge to the patient’s ledger and if applicable, set the charge to bill the insurance.
Record Appointment
Recording an appointment allows users to finalize and mark the appointment as completed as well as creates a billing charge that can be submitted to insurance.
There are three ways to record an appointment:
- Record from the Calendar
- Accept Payment from the Calendar
- Record Appointments from the Scheduler
Please click on a tab to see directions for each method.
Record From Calendar
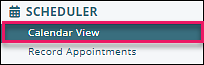
To access the Calendar, on the left navigation menu select Scheduler | Calendar View
- Right-click on an individual appointment in the Calendar View
- Select Appointment, then Record
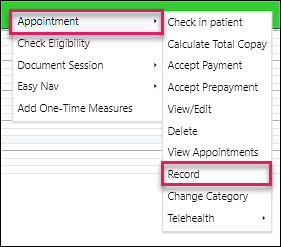
Note: If there is a red vertical bar on the left side of the appointment, it has not yet been recorded.
See Group Attendance and Billing article for steps to record group sessions.
DeleteAccept Payment
To access the Calendar, on the left navigation menu select Scheduler | Calendar View

- Right-click on appointment in the Calendar View.
- Select Appointment, then Accept Payment which opens a new window.
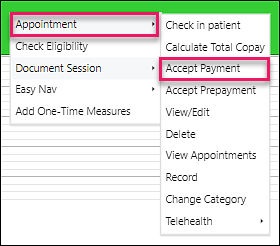
- Fill in the information in the new window. Fields highlighted in pink are required for the billing process.
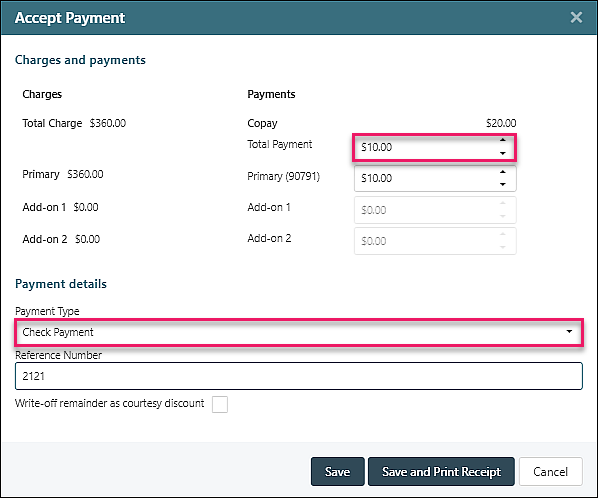
More information can be found in a later step (Posting Patient Payments).
Note: If practice has Receipt Book enabled, Accepting a Payment will not record the appointment, but will move the payment to the Receipt Book.
DeleteRecord From Scheduler
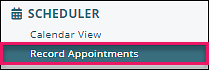
To open Record Appointments, on the left navigation menu select Scheduler | Record Appointments or click on the top right Record Appointments button in the Calendar View.

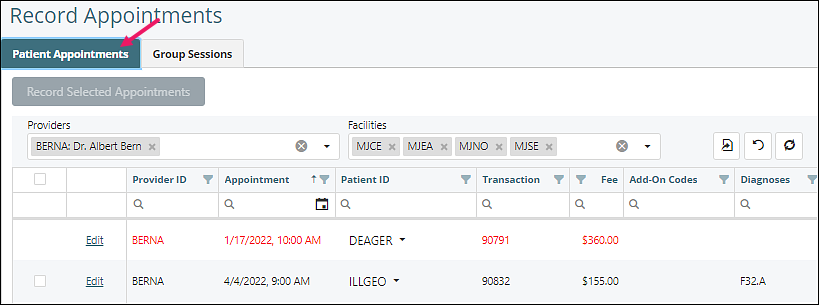
- Any appointments with all required information will appear in black and a checkbox will show in the left column
- Appointments in red are missing required information and cannot be recorded until completed (no checkbox will show in the left column)
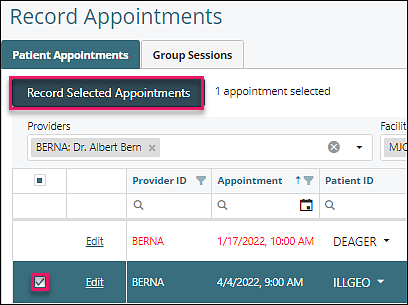
- Click the checkbox next to an appointment
- Click Record Selected Appointments
Note: The following information is required to record an appointment and create a charge for submission:
- The patient must have an assigned diagnosis with the billing order specified
- The appointment must have a primary CPT code selected
- The patient must have full demographics information completed
Group Sessions Tab
- Any appointments with all required information will appear in black and a checkbox will show in the left column
- Appointments in red are missing required information and cannot be recorded until completed (no checkbox will show in the left column)
- Click the "Edit" link to doublecheck attendance status and record the group session.
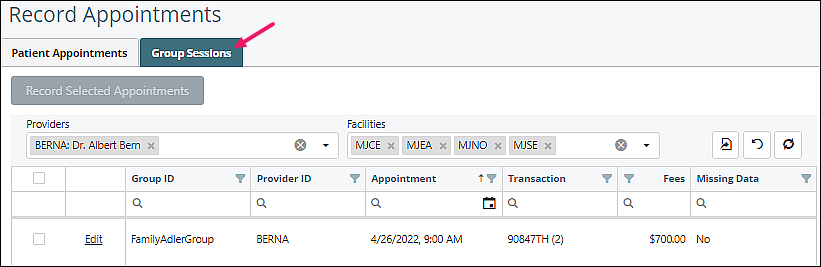
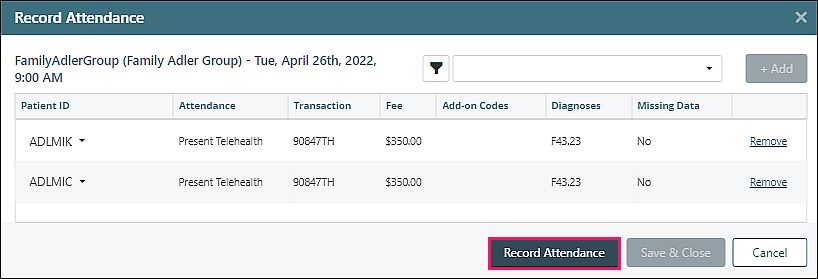
- Use the drop down selections to choose the appropriate attendance status.
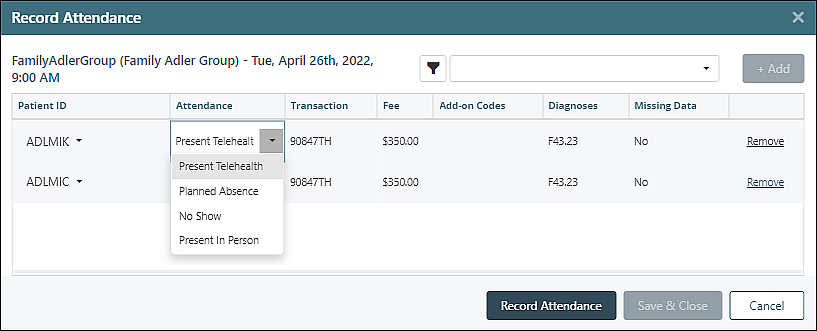
- Click Record Attendance.
Pending Transactions Queue (PTQ)
The Pending Transactions Queue (PTQ) is an optional feature that is a list of appointments that have been recorded. Appointments must be processed through the queue before the charge is created. This is an opportunity to review, inactivate, and edit dates of service before proceeding through the revenue cycle.
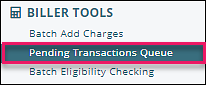
To access the PTQ, on the left navigation menu select Biller Tools | Pending Transactions Queue.
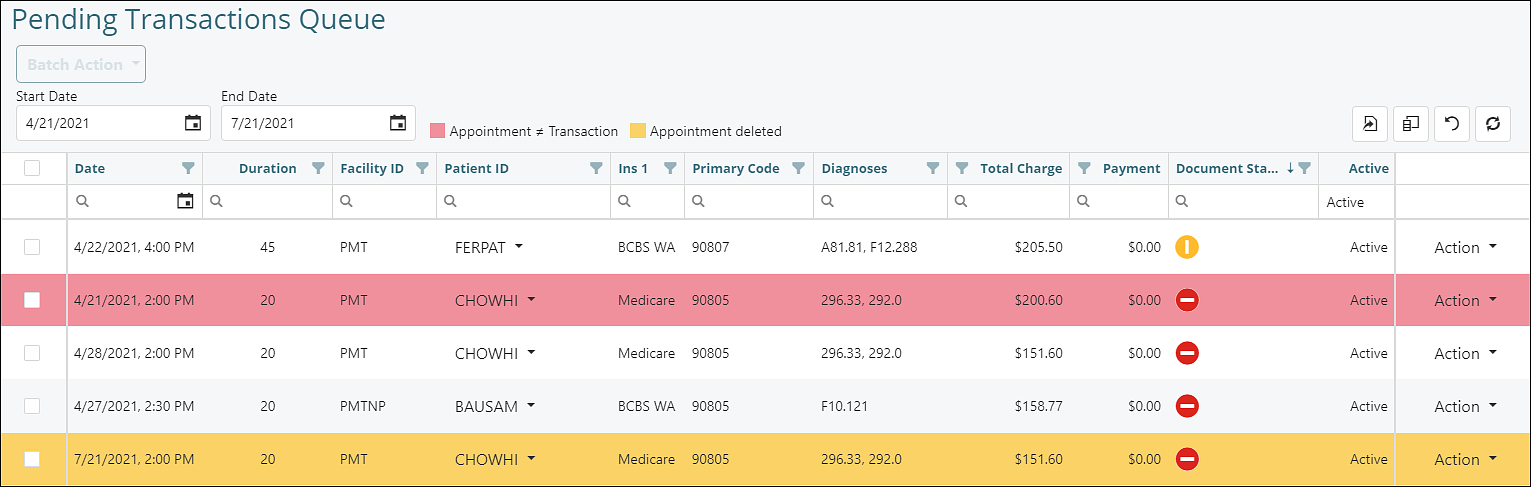
Items in red indicate a charge has been recorded, but a user has edited the appointment details and the details in the PTQ do not match the appointment. If someone updates a primary code or charge amount that can turn the line item red. Yellow items represent appointments that are deleted from the scheduler after they are recorded.
On the top right of the page are menu options that allow the user to:
 |
Export all data: This button will download an excel file of data |
 |
Select Columns: This allows users to customize what columns appear on the heading of the grid |
 |
Clear Filters and Search: This will clear any filters or searches that are currently being used on the grid |
 |
Refresh Data: Will refresh the page and show any updates or changes made |
Document Status Column
The column on the far right shows the documentation status. Use the scroll bar at the bottom of your screen to view this column. These icons represent the status of the documentation for each visit. It is considered best practice by some organizations to not allow billing for appointments until documentation has been completed.
 |
The documentation for this session has not been started |
 |
The documentation for this session has been started, but it has not been signed |
 |
The documentation for this session has been signed |
 |
The documentation for this session has been skipped |
Editing Items in the PTQ
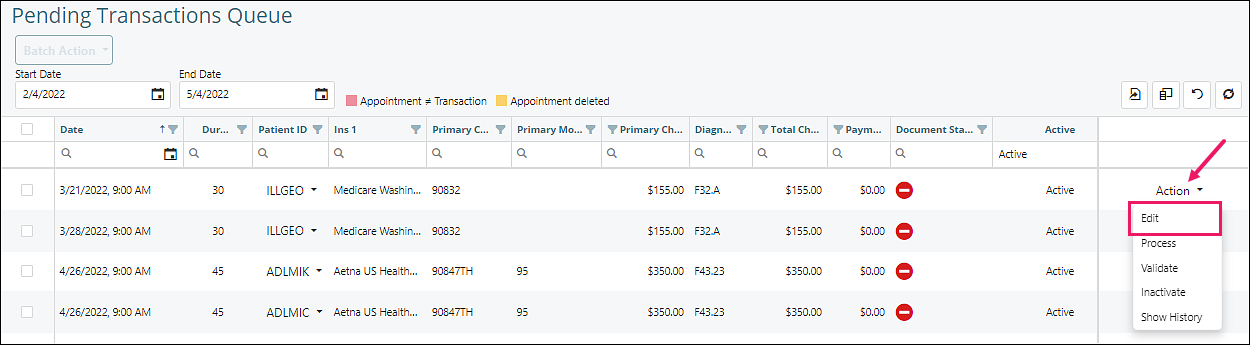
Click the "Action" drop-down and select "Edit" to open the Edit Pending Transaction window.

A user can edit any of the fields on the appointment. Simply click Save once edits are made to accept the changes, and update the information in the queue. If no changes are needed, selecting Cancel will close the window.
Visits Highlighted in Red in the PTQ
If the characteristics of a visit submitted to the PTQ have changed since the time they were submitted through the calendar, the affected visit will appear highlighted in red. Occasionally corrections may need to be made in the PTQ. To update the transaction within the queue, so that it reflects the changes that were made in the calendar, follow these steps.
Click the "Action" drop-down and select "Edit" to make a change to the transaction.
The "Edit Pending Transaction" window appears with the details of the transaction as it appears in the calendar. When you select items that are in red (because the appointment has been changed) there are two options with radio buttons to "Use Pending Transaction values" or "Use Appointment values". Toggling between values allows viewing each option prior to choosing one.
"Use Pending Transaction value" is the default and will continue with modifications made to the Pending Transaction.
"Use Appointment values" means to update the pending transaction to what is reflected on the scheduler. Clicking this radio button will update the charge to reflect the values in the scheduler. Clicking Save will delete any changes made to the transaction and remove the radio button options and the red highlight. It can also be changed back by clicking "Use Pending Transaction value".
A user can edit any of the fields on the appointment. Simply click Save once edits are made to accept the changes, and update the information in the queue. If no changes are needed, selecting Cancel will close the window and keep the red highlight.
![]()
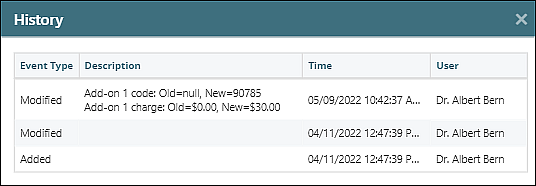
All changes made to the pending transaction will be available on "Show History" on the Action drop-down.
Process
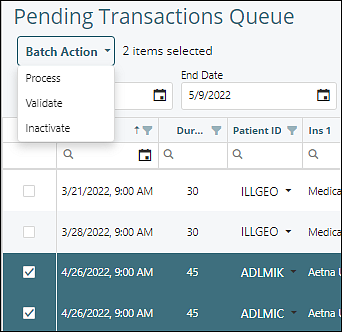
To process individual pending transactions and create the charges for the dates of service you can select "Process" from the right Action drop down list. Multiple transactions can be processed by clicking the checkbox at the left side of page, click "Batch Action" and then click "Process". This will create the charges in View/Edit Charges.
Validate
Practices that use the Enhanced Billing Validation (EBV) can select from the Batch Action drop down list to validate multiple pending transactions or from the Action drop down list on the right for individual transactions. EBV validates for several things when enabled. It can validate documentation status, procedure code, insurance authorization, and provider contractual status. The Validate option will check enabled validations to see if a pending transaction will meet that validation.
Inactivate
Items that are created in error can be inactivated. Selecting "Inactivate" from the Batch Action drop down list will inactivate multiple items from the PTQ and not create a charge. The right side Action drop down list may be used to inactivate individual items. This should only be done for items that will not proceed in the billing cycle. Users will receive a warning message before charges are inactivated.
Show History
Clicking "Show History" from the right Action drop down list will show an audit history of all modifications to a pending transaction while it is in the PTQ. If a user makes any changes or adjustments they will be captured here.
Create Insurance Claims
In order to create an insurance claim for primary insurance, complete the following steps:
Click Billing | Create Insurance Claims
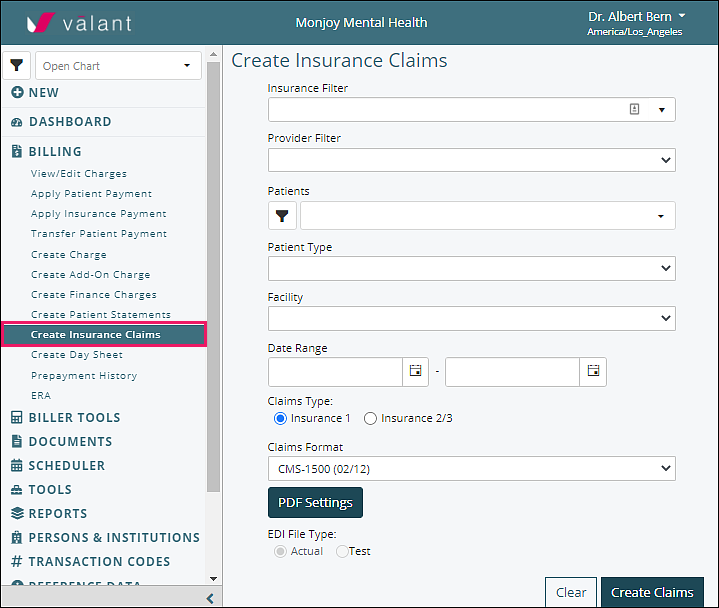
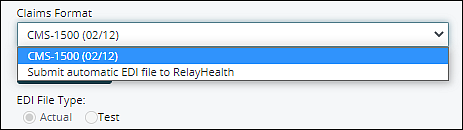
In order to submit all outstanding claims, all of the fields should be left blank. Pick the type of claims format needed. Selecting “Submit automatic EDI file...” from the Claims Format drop-down list transmits claims directly to the clearinghouse.
Click Create Claims.
Once this is completed please follow the same steps to submit claims to all secondary and tertiary insurance after selecting the appropriate Claims Type radio button.
Filters
Individual claims can be created by using the filter functions to create the desired claims.
- Insurance Filter: allows you to create insurance claims for one or all insurance companies except for one
- Provider Filter: allows you to create insurance claims for one or all providers except for one
- Patients Filter: allows you to create insurance claims for one or all patients except for one
- Patient Type: allows you to create insurance claims for one or all patient types except for one
- Facility: allows you to create insurance claims for one or all facilities except for one
- Date Range Fields: allows you to create insurance claims for services that fall only within the selected date range
- Claims Type Radio Buttons: chooses if claims are being generated for primary or secondary & tertiary insurance.
-
Claims Format Drop-Down Options: selects between the production of paper claims or electronic claims
- CMS-1500 (02/12) - creates a paper claim in PDF format
- Submit automatic EDI file - formats and sends claim to clearinghouse
- PDF Settings Button: adjusts how a PDF generates. See Claim Margin Alignment PDF Settings article for more information
- EDI File Type Radio Buttons: selects whether claims will be created in a test or actual production format
Clear Button: this button will negate all selections made above it and clear all fields
Create Claims Button: this will create your claims in either paper or electronic format, depending on the choice made in the Claims Format.
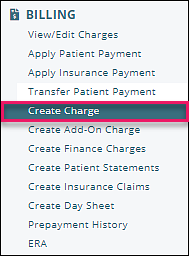
DeleteCreate Charges Outside of Scheduler
Create Charges should ONLY be used for primary charges and add-ons that fall outside the regular appointment charges created from the scheduler (e.g. unscheduled billable phone calls, medical record requests).
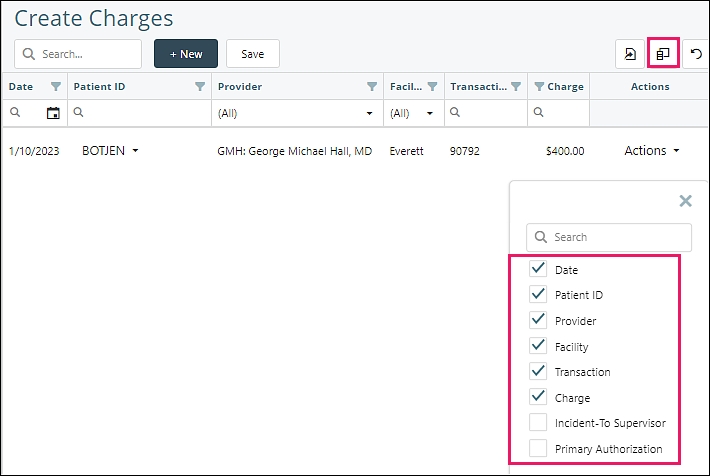
Users can create a preliminary list of charges for multiple patients before saving the batch of charges to View/Edit Charges.
Click on Billing | Create Charges
Adjust Columns
Users can add or remove columns in the Create Charges view by clicking on the column list icon and checking or unchecking preferences.
New Charge
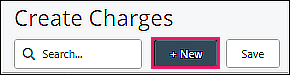
Click +New to open the Add Charge window.
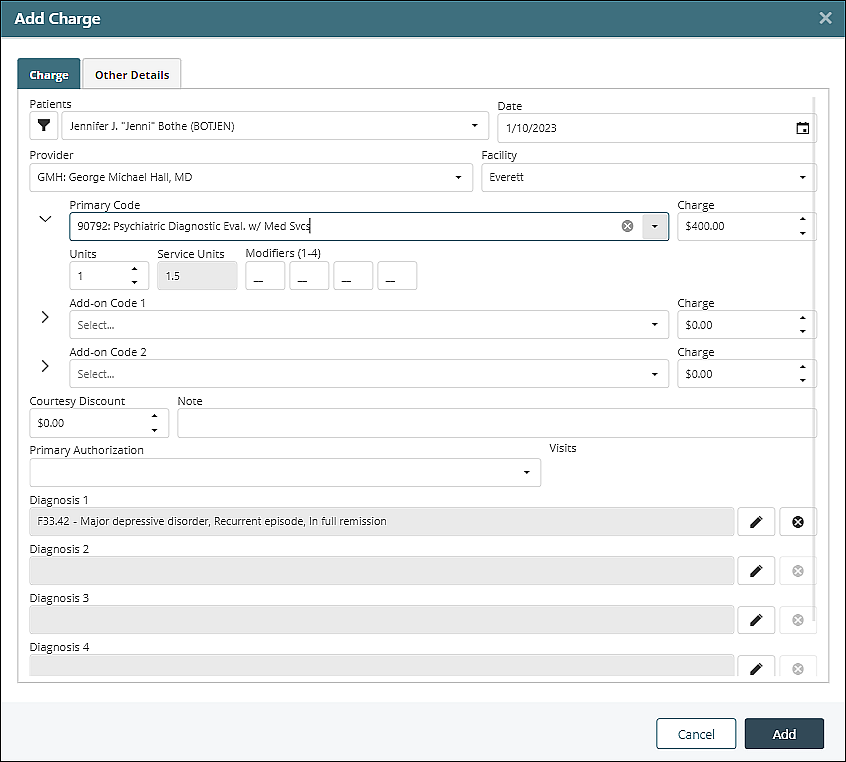
If any required fields are missing a valid response, the field will be highlighted with a red border and marked with a warning icon. Enter charge information including add-on code information (if applicable) and click Add.
![]()
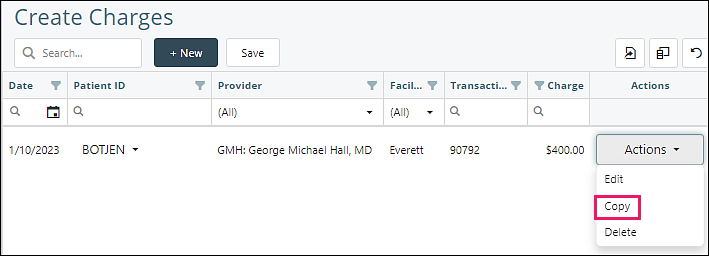
Copy Charge Data
Users can copy existing charge data to save typing when creating multiple charges for one patient.
Click Copy from the Actions drop down list.
The Add Charge window will open, and the copied data can be edited if necessary, including add-on codes (if applicable). Click Add.
Other Details Tab
On either a new or copied entry, select the Other Details tab to enter more information related to the charge.

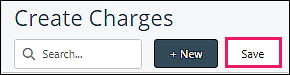
Save
Clicking Save will send the charge to the patient ledger and if applicable, set the charge to bill the insurance.
Note: If the charges are not saved the data will be lost when the page is refreshed.
DeleteCreate Add-On Charge
To add a secondary procedure code to a charge that has already been created, navigate to Billing | Create Add-On Charge.
Select the patient and date range to find the primary code that needs the Add-on Charge.
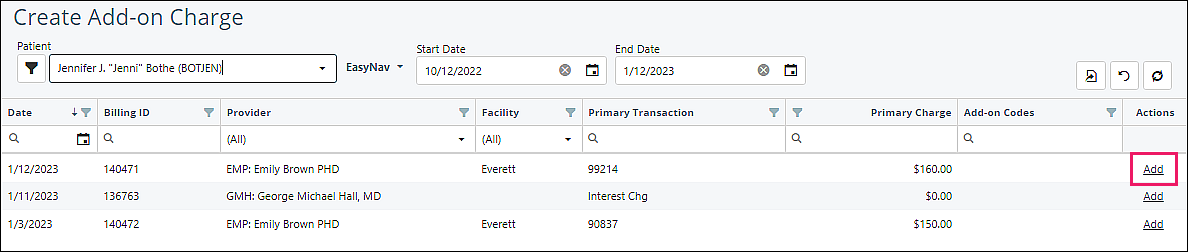
Click Add to open the Add Add-on Charge window.
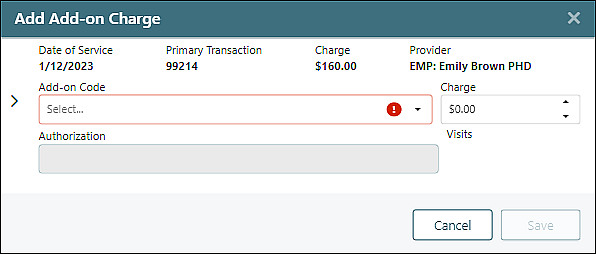
Select the Add-on Code from the drop-down list.

The charge amount will automatically populate and the unit and modifier fields can be adjusted here as well as any discount or authorization information. Click Save.
Note: Attaching an authorization will make this add-on count as a visit used toward the authorization.
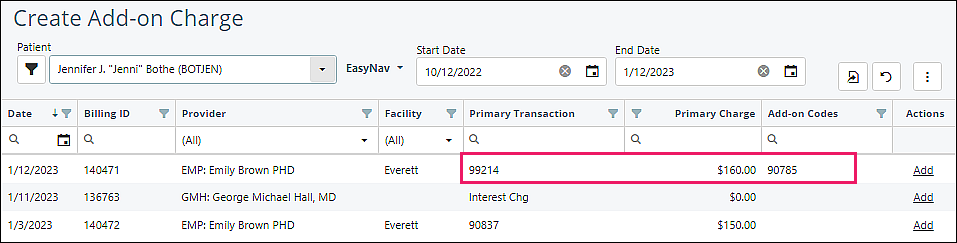
The Add-On Charge will be listed in View/Edit charges under the primary code.
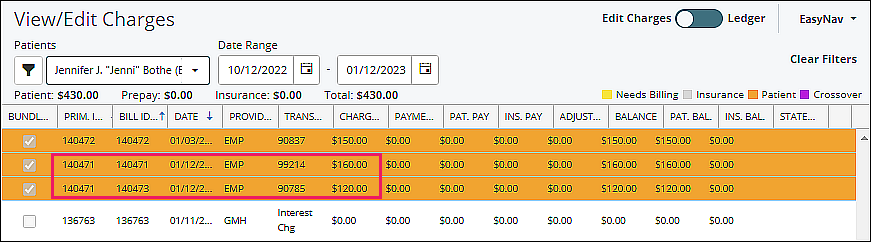
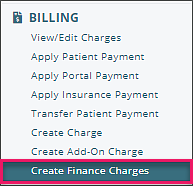
Create Finance Charges
Create Finance Charges is optional and allows practices to assess Finance Charges for past due balances per their policy.
Navigate to Billing | Create Finance Charges from the left menu.
Fields highlighted in pink are required for successful process.

Click Generate Finance Charges which sends a report to the report queue (Tools | Report Queue) listing the patients that will receive the finance charges. Finance charges can be seen in View/Edit Charges posted the date the report was created.