The Pending Transactions Queue (PTQ) is an optional feature that is a list of appointments that have been recorded. Appointments must be processed through the queue before the charge is created. This is an opportunity to review, inactivate, and edit dates of service before proceeding through the revenue cycle.
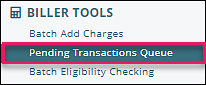
To access the PTQ, on the left navigation menu select Biller Tools | Pending Transactions Queue.
The PTQ appears as a grid with filtering options and columns that can be dragged and dropped to be reordered. 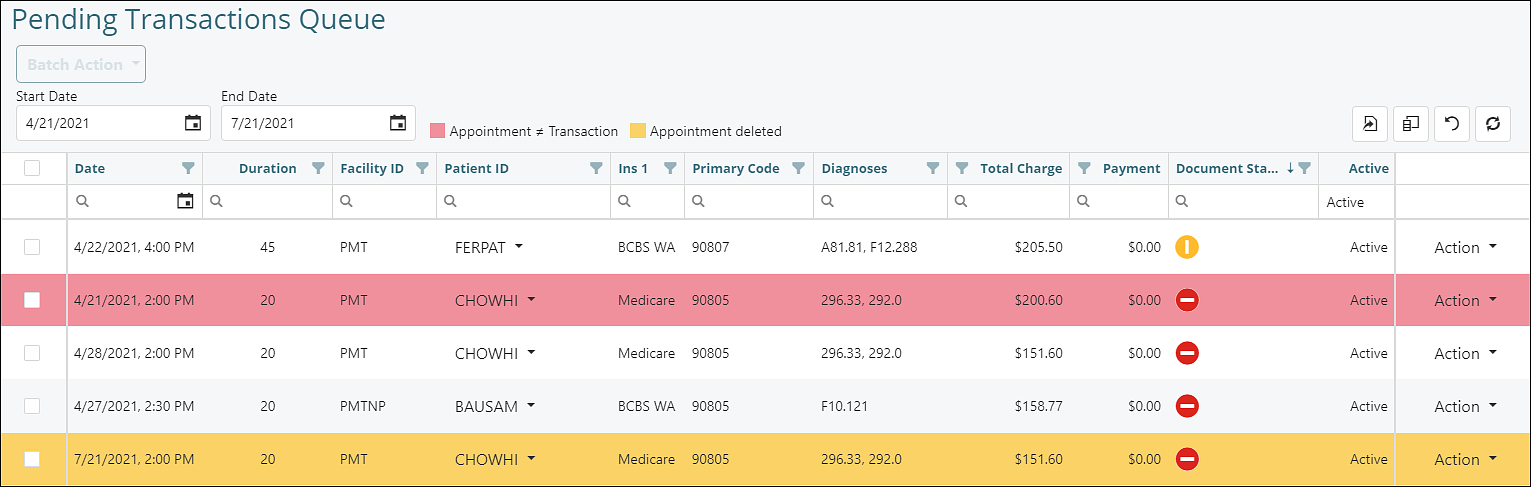
Items in red indicate a charge has been recorded, but a user has edited the appointment details and the details in the PTQ do not match the appointment. If someone updates a primary code or charge amount that can turn the line item red. Yellow items represent appointments that are deleted from the scheduler after they are recorded. Blue items represent a pending charge that was created from a source outside of Valant. These blue rows are rare and practices that see them receive supplemental training.
On the top right of the page are menu options that allow the user to:
 |
Export all data: This button will download an excel file of data |
 |
Select Columns: This allows users to customize what columns appear on the heading of the grid |
 |
Clear Filters and Search: This will clear any filters or searches that are currently being used on the grid |
 |
Refresh Data: Will refresh the page and show any updates or changes made |
Document Status Column
The column on the far right shows the documentation status. Use the scroll bar at the bottom of your screen to view this column. These icons represent the status of the documentation for each visit. It is considered best practice by some organizations to not allow billing for appointments until documentation has been completed.
 |
The documentation for this session has not been started |
 |
The documentation for this session has been started, but it has not been signed |
 |
The documentation for this session has been signed |
 |
The documentation for this session has been skipped |
Editing Items in the PTQ
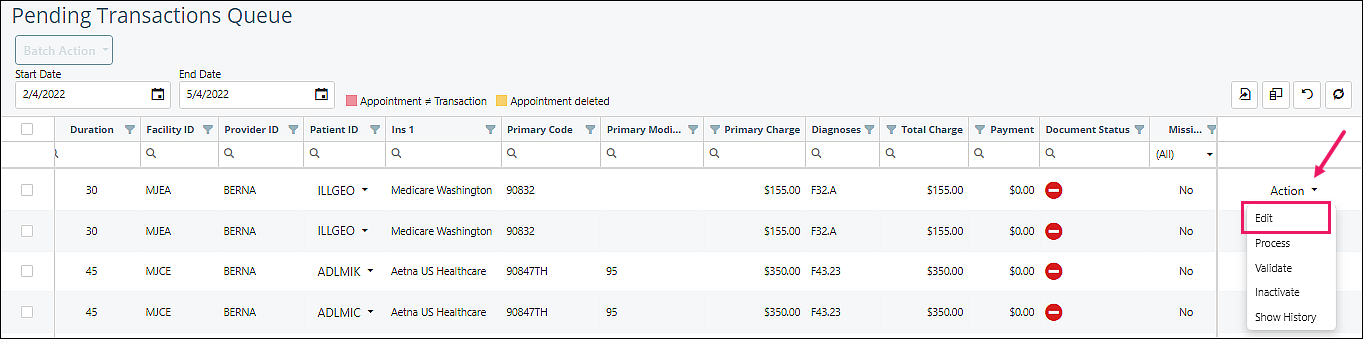
Click the "Action" drop-down and select "Edit" to open the Edit Pending Transaction window.
A user can edit any of the fields on the appointment. Simply click Save once edits are made to accept the changes, and update the information in the queue. If no changes are needed, selecting Cancel will close the window.
Visits Highlighted in Red in the PTQ
If the characteristics of a visit submitted to the PTQ have changed since the time they were submitted through the calendar, the affected visit will appear highlighted in red. Occasionally corrections may need to be made in the PTQ. To update the transaction within the queue, so that it reflects the changes that were made in the calendar, follow these steps.
Click the "Action" drop-down and select "Edit" to make a change to the transaction.

The "Edit Pending Transaction" window appears with the details of the transaction as it appears in the calendar. When you select items that are in red (because the appointment has been changed) there are two options with radio buttons to "Use Pending Transaction values" or "Use Appointment values". Toggling between values allows viewing each option prior to choosing one.
"Use Pending Transaction value" is the default and will continue with modifications made to the Pending Transaction.
"Use Appointment values" means to update the pending transaction to what is reflected on the scheduler. Clicking this radio button will update the charge to reflect the values in the scheduler. Clicking Save will delete any changes made to the transaction and remove the radio button options and the red highlight. It can also be changed back by clicking "Use Pending Transaction value".
A user can edit any of the fields on the appointment. Click Save once edits are made to accept the changes, and update the information in the queue. If no changes are needed, selecting Cancel will close the window and keep the red highlight.
![]()
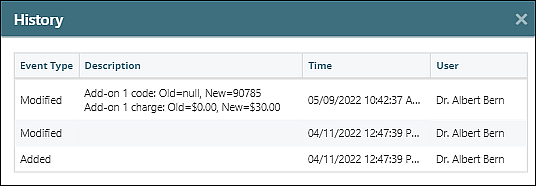
All changes made to the pending transaction will be available on "Show History" on the Action drop-down.
Process
To process individual pending transactions and create the charges for the dates of service you can process individual transactions by clicking the Action drop-down and click Process. Multiple transactions can be processed by clicking the checkbox at the left side of page, click "Batch Action" and then click "Process". This will create the charges in View/Edit Charges.
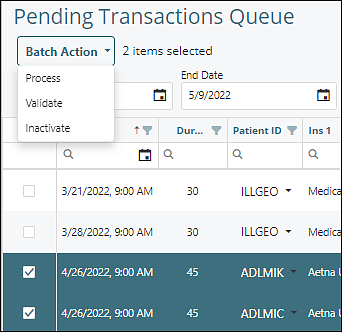
Validate
Practices that use the Enhanced Billing Validation (EBV) can select from the Batch Action drop down list to validate multiple pending transactions or from the Action drop down list on the right for individual transactions. EBV validates for several things when enabled. It can validate documentation status, procedure code, insurance authorization, and provider contractual status. The Validate option will check enabled validations to see if a pending transaction will meet that validation.
Inactivate
Items that are created in error can be inactivated. Selecting "Inactivate" from the Batch Action drop down list will inactivate multiple items from the PTQ and not create a charge. The right side Action drop down list may be used to inactivate individual items. This should only be done for items that will not proceed in the billing cycle. Users will receive a warning message before charges are inactivated.
Show History
Clicking "Show History" from the right Action drop down list will show an audit history of all modifications to a pending transaction while it is in the PTQ. If a user makes any changes or adjustments they will be captured here.