
The Accept Payment button on an appointment is used to process payment for a specific date of service directly through the calendar. This is the most popular workflow for accepting payments from patients. Practices with integrated credit card processing can also accept credit card payments at this time. Accepting payments records the appointment, which enables creation of the charge and posting of the payment. It is required that users have the "Record Appointments" permission to accept payment from the calendar. To accept a payment, the patient needs to have the required demographics for billing and a diagnosis entered.
Accept Payment Workflow
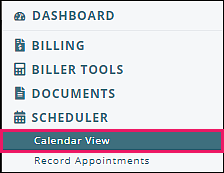
From the navigation menu click on Tools | Scheduler | Calendar View.
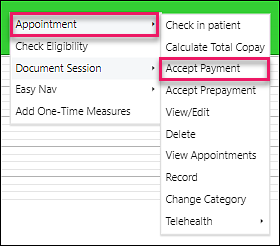
Right-click (or Mac equivalent) on the appointment and select Appointment | Accept Payment.
The "Accept Payment" window will open and allow users to enter the payment details.
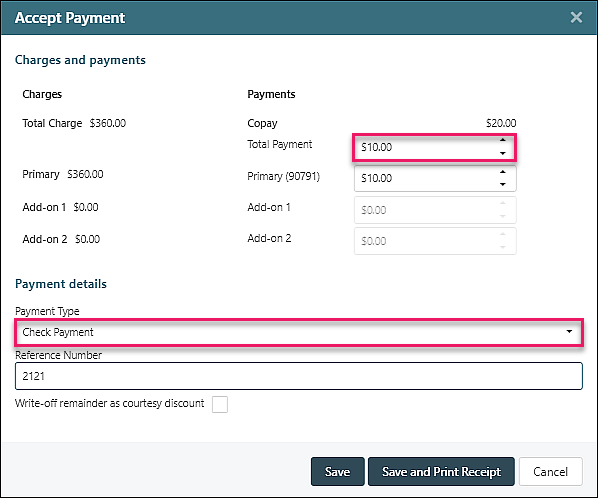
Click Save or Save and Print Receipt. This will complete the workflow.
Explanations of the "Accept Payment" window components:
- Total Charge: overall charge for the session, the summation of all primary and add-on codes.
- Primary: shows the CPT code of the primary transaction code as well as the charge for that specific procedure.
- Add-on 1: shows the CPT code of the add-on transaction code as well as the charge for that specific procedure.
- Add-on 2: shows the CPT code of the add-on transaction code as well as the charge for that specific procedure.
- Pre-payment Credit: If the patient has prepayment credit from a prior over payment the remaining amount left to still be applied will appear here.
- Copay: if the patient has a co-pay listed for him/her then the amount of that co-pay appears in this field.
- Total Payment field: the total amount of payment being accepted.
- Primary field: the total amount of payment being applied to the primary procedure code.
- Add-on 1 field: the total amount of payment being applied to the add-on procedure code.
- Add-on 2 field: the total amount of payment being applied to the second add-on procedure code.
- Payment Type drop-down box: shows the different methods of payment that can be chosen from to reflect the method by which the patient paid for the session.
- Reference Number field: an optional field that can be used to track the check or card number used to pay for the session.
- Write-off Remainder as Courtesy Discount checkbox: when checked this box writes off any balance remaining as a patient courtesy discount after the payment is applied.
- Save button: enables creation of a charge and acceptance of payment without generation of a receipt.
- Save and Print Receipt button: this button enables creation of a charge, acceptance of payment, and generation of a receipt that the patient can use to submit for insurance reimbursement. The receipt is also saved in the patient's chart under documents.
- Cancel button: this button cancels the accept payment option. Checking this cancels the creation of a charge and acceptance of payment, and no receipt is generated.
Note: If Receipt Book is turned on, the visit will not be recorded with the posting of the payment. Recording the appointment will be a separate function.
Accepting Integrated Credit Card Payments
If "Auto Payment CC" is selected as the payment type it will open the "Payment Transaction" tab in the "Automated Payment Processing" window when "Save" or "Save and Print Receipt" is selected. This payment type is for practices who have integrated credit card processing.
Note: Click on the "Card Manager" tab to view stored cards, either entered by the patient or the practice.
Required fields for billing are highlighted in pink. The "Select Card" drop down list shows all of the cards listed for the patient in the "Card Manager". If the correct card is not listed, use the "New Card" option and enter the information in the "Card Details" fields. Choose a name for the card and replace the New Card text with that name. If the card is to be stored for future use, click the box to "Save to Card Manager".
Once card details are entered or a card stored in the Card Manager is selected, Click Submit.
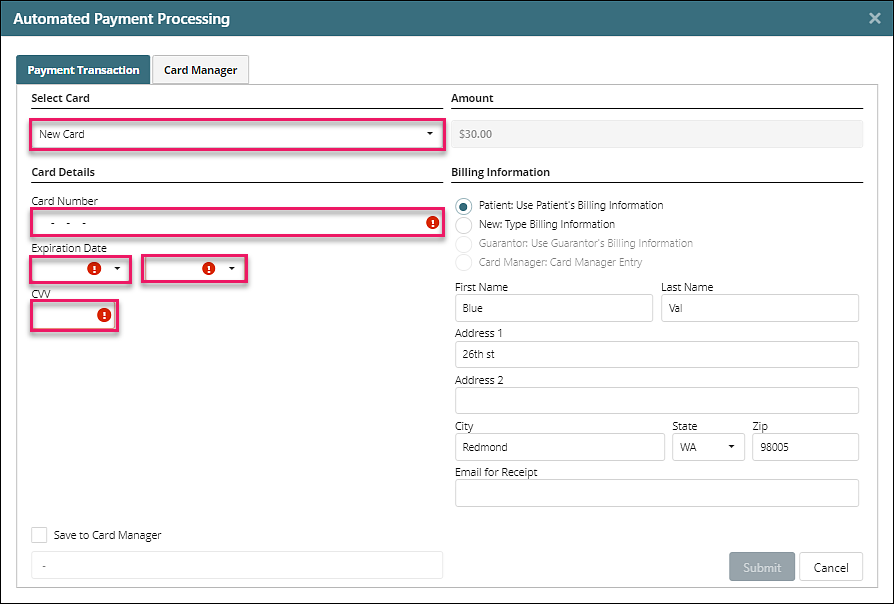
Billing Information Options:
- "Patient: Use Patient's Billing Information" radio button: defaulted on, cardholder information on the right side is automatically populated. If the "Email for Receipt" field is populated, the cardholder receives a receipt.
- "New: Type Billing Information" radio button: if the cardholder is not the patient, enter the cardholder's information.
- "Guarantor: User Guarantor's Billing Information" radio button: if the cardholder is in the patient's demographic file, the information will populate from that location.