
The Valant Account Setup Checklist is an essential companion for a seamless implementation experience.
This checklist guides a practice through initial account configuration. This resource is intended to provide clear, step-by-step configuration instructions and is tailored to a new practice’s unique needs beginning the Valant journey. The checklist helps unlock the full potential of the Valant EHR, empowering the practice for enhanced patient care and operational efficiency.
This Account Setup Checklist is split into three sections:
- User Setup that will need to be completed by each user to customize their settings
- Practice Setup to be completed by the office manager or main administrator
- Billing Setup for the practice’s billing manager (Includes Procedure Code Setup)
There are links to Valant Knowledge Base articles when more than one step is needed to complete an item in the checklist. If you have any questions, please contact your Valant Implementation Manager.
User Setup
Every user will need to update their settings upon their first login to Valant.
Username Dropdown (Upper Right of Screen)

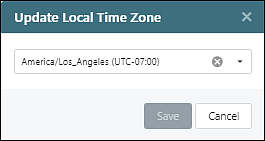
Clicking Change Local Time Zone opens the "Update Local Time Zone" window
Username Dropdown (Upper Right of Screen)
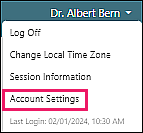
Click Account Settings, then select the "User Preferences" tab
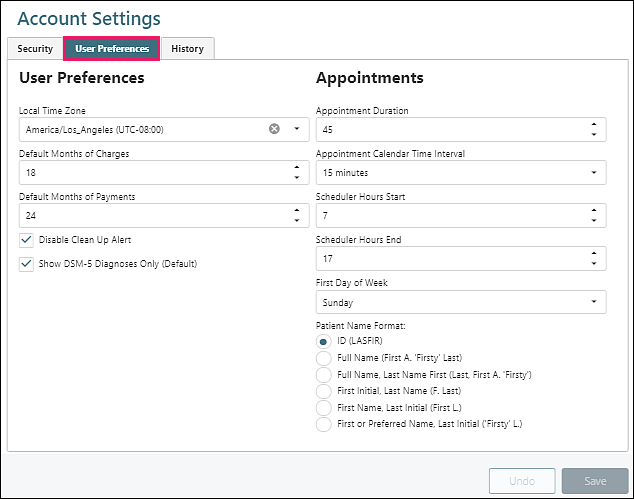
- (Optional) Appointment Duration – Default appointment duration on the scheduler
- (Optional) Appointment Calendar Time interval – Default interval on the scheduler
- (Optional) Scheduler Hours Start and Scheduler Hours End (in Military time) – Defines hours viewable on the scheduler
- (Optional) First Day of Week – Defines the “week” view configuration on the scheduler
- (Optional) Patient Name Format – How the patient name will display on the scheduler
Persons & Institutions | Patients
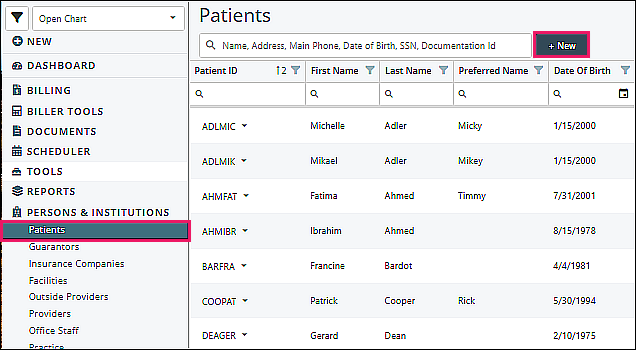
Add patients into the system, as applicable (if your practice uses the eSignature feature do not complete this step until after you complete the eSignature tasks in the Practice Setup section of this document)
- Review data needed for this step in the Patient Demographics Overview article
- Use the Create a New Patient article for steps on adding patients
Scheduler | Calendar View
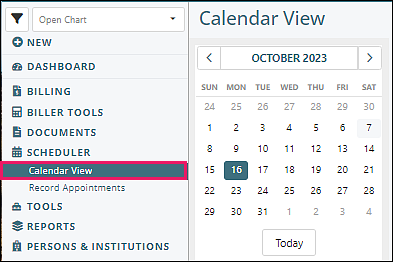
Add any appointments from your planned go-live date going forward into Valant using the Appointment Details article as a guide
- (Optional) See Preset Views article to create and save your favorite preset views
Patient Chart | Measures (practices using the Patient Portal module)
Open/select a patient chart and select "Measures" from the left menu
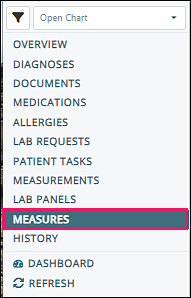
Assign measures to MYIO Patient Portal for patients, as applicable
- See MYIO Forms and Documents article for guidance
Patient Chart | Medications & Allergies (practices using the ePrescribing module)
Open/select a patient chart and select "Medications" or "Allergies" from the left menu
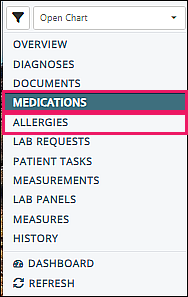
Update pharmacy, allergies, and medication history, as applicable in DrFirst and described in the Rcopia DrFirst articles
DeletePractice Setup
One user, usually an office manager, will need to update these settings.
Persons & Institutions | Practice | Preferences Tab
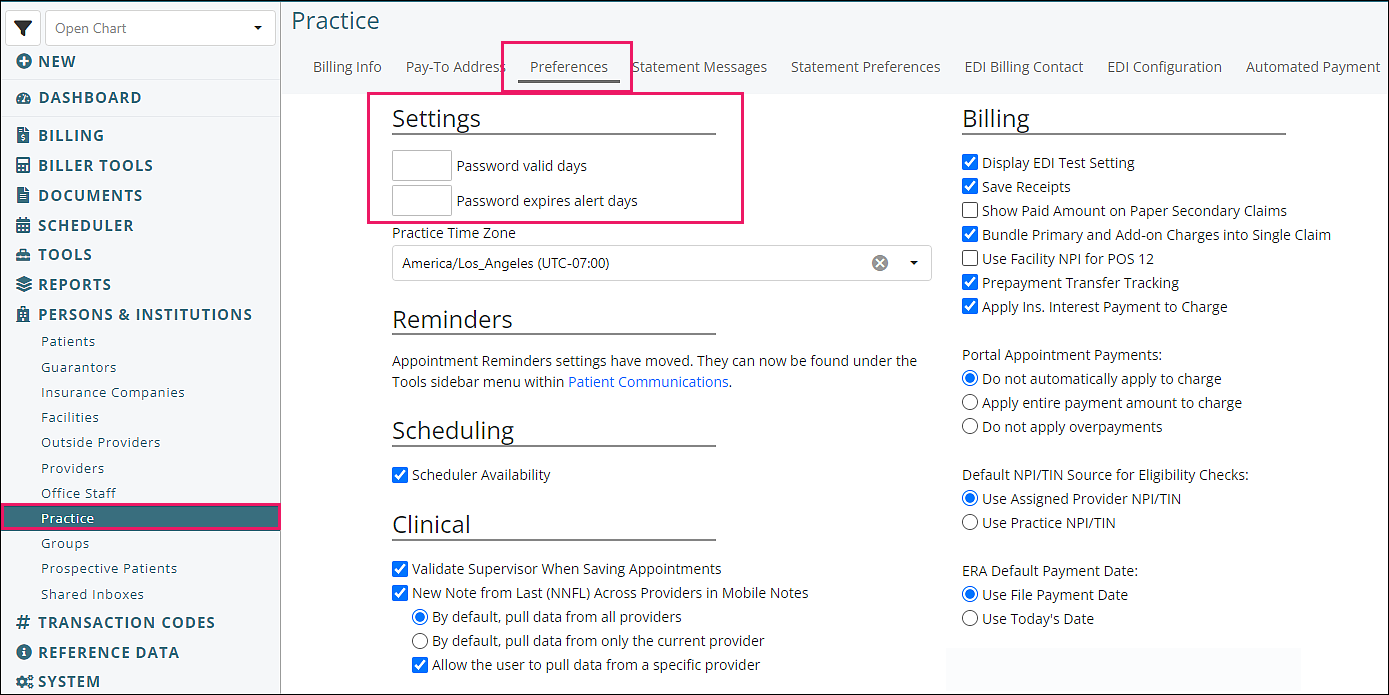
The Preferences tab allows users to set practice wide settings for the practice on settings for Scheduling, Clinical, Billing, and Administrative options. The "Admin" section is only available for users with "Admin Access". The "Password valid days" and "Password expires alert days" allows a practice to set a timeframe for how long a password will be valid and when to warn users. See Valant User Password Valid Days and Expiration article for more details.
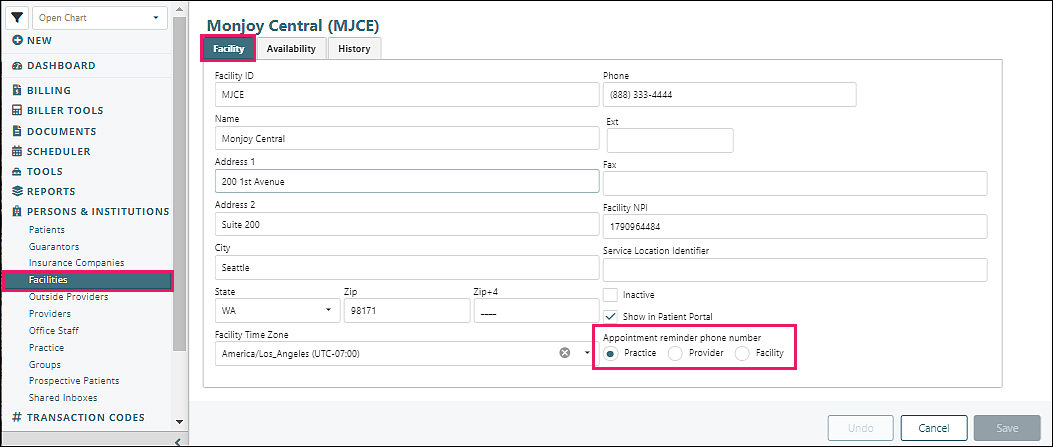
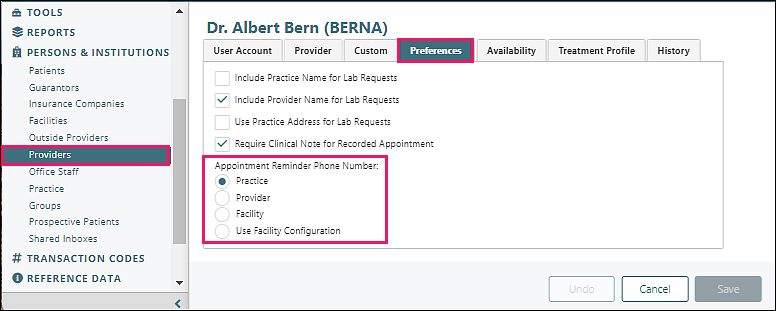
Appointment Reminder Phone Number – Confirm which phone number should be used as the contact number listed in patient reminders. Review Patient Communications Values From System article for more information.
- In Persons & Institutions | Facilities | select Facility | Facility tab
- In Persons & Institutions | Providers | select Provider | Preferences tab
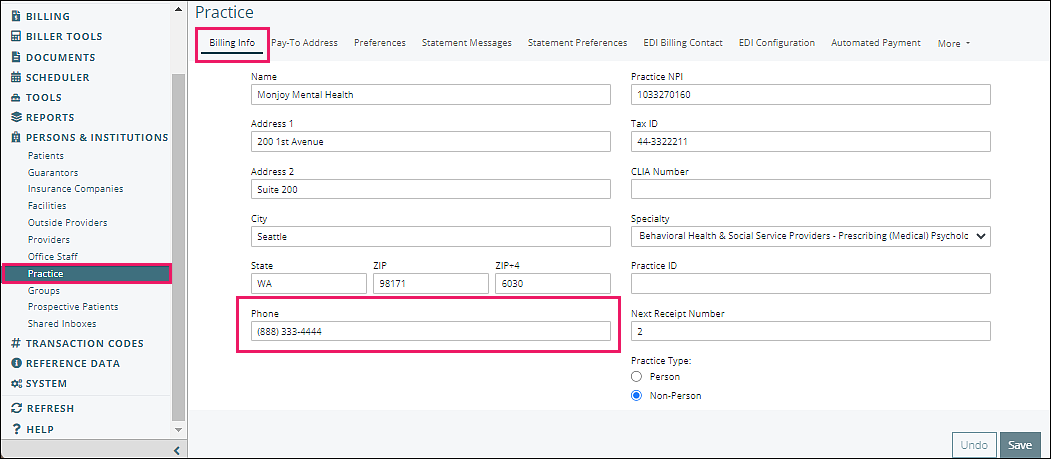
- In Persons & Institutions | Practice | Billing Info tab
Persons & Institutions | Providers | select Provider
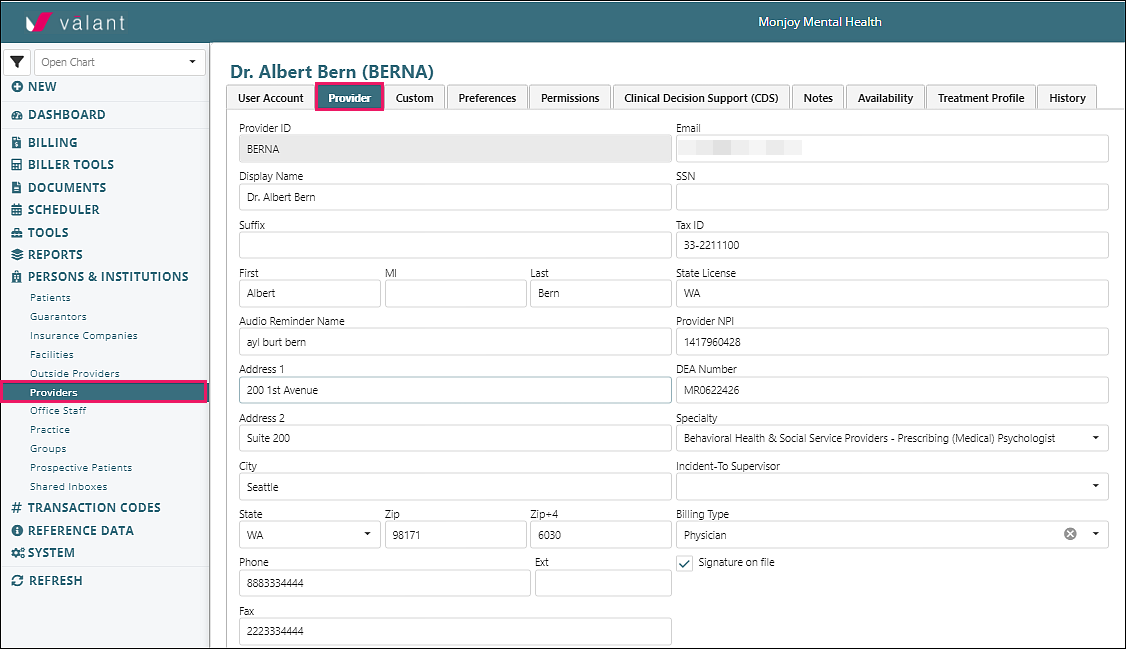
- Confirm demographic information is correct in "Provider" tab. "Display Name" is signature on documentation
- Enter Availability per Provider/Facility (Patient Portal Appointment Request users). Review MYIO Appointments article for more information
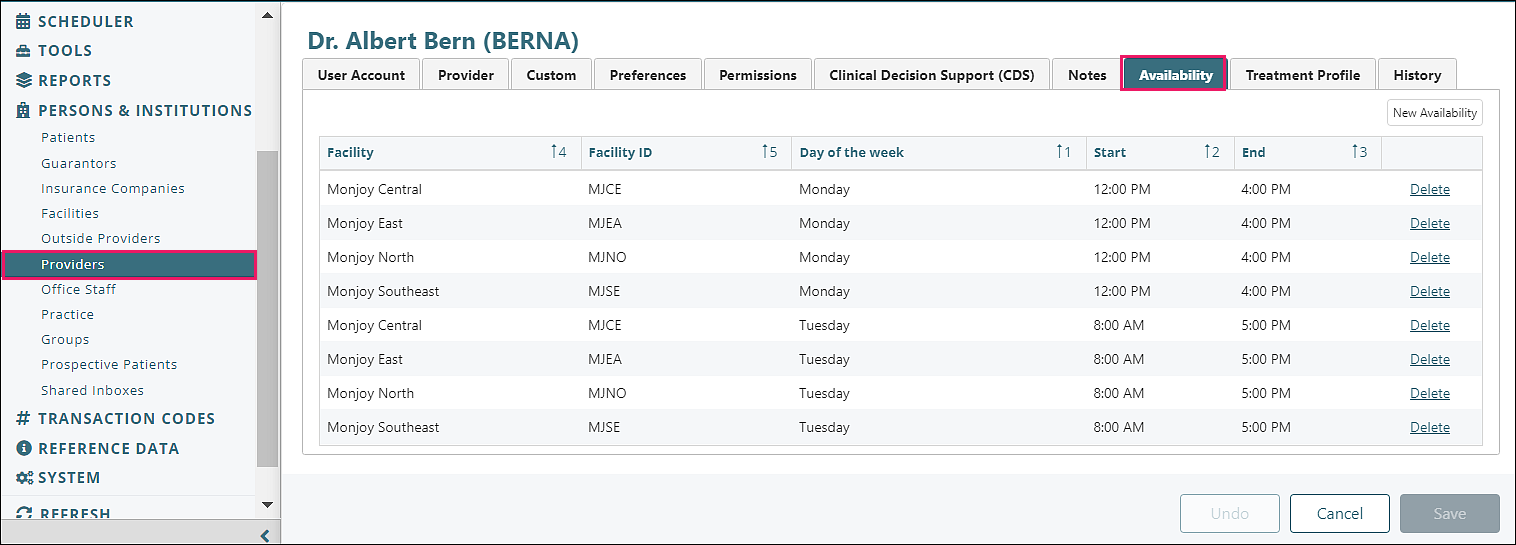
Details are described in the Persons & Institutions | Provider article
Persons & Institutions | Facilities
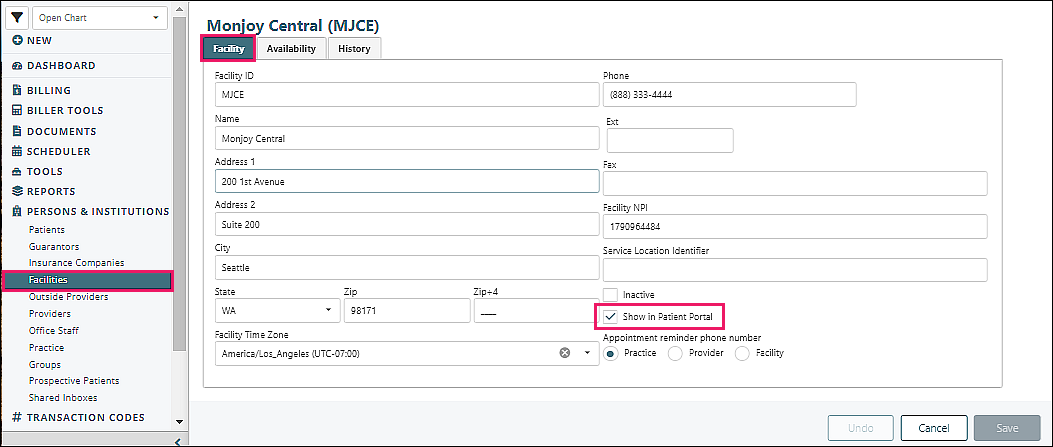
- Confirm facility information is correct, including phone and fax numbers. see details in Facilities article
- Show in Patient Portal – Check if you would like facility address and phone number displayed in MYIO Patient Portal
Persons & Institutions | Practice | Patient Portal Tab (practices using the MYIO Patient Portal module)
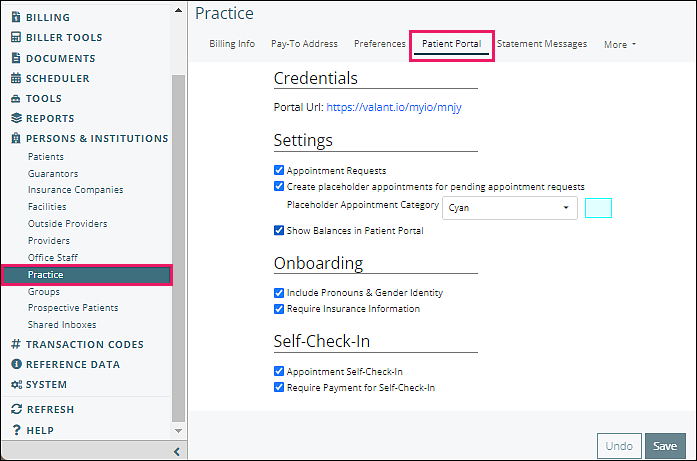
- (Optional) Check "Appointment Requests" to enable Patients to request appointments from MYIO
- (Optional) Check "Show Balances in Patient Portal" which enables patients to see their current outstanding balance in MYIO
- (Optional) Check "Create placeholder appointments for pending appointment requests" to enable the system to create placeholder appointments for pending appointment requests entered by patients through MYIO
- (Optional) Check "Appointment Self-Check-In" to allow Patients to check in from MYIO
Tools | Patient Communications
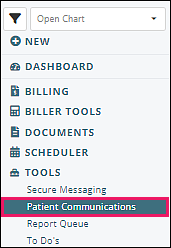
Patient Communications features are patient reminders and broadcast messaging that will offer practices additional transmission options. Reminders are triggered by upcoming appointments, no-shows, credit card and insurance expirations, while broadcast messaging contains ad hoc communications sent to groups of patients based on message requirements.
Use the following articles to guide through setup of this feature:
- (Optional) Patient Communications Overview
- (Optional) Patient Communications – Reminders
- (Optional) Patient Communications – Broadcast Messages
Documents | Practice Documents | Upload Documents (practices using the Patient Portal module)
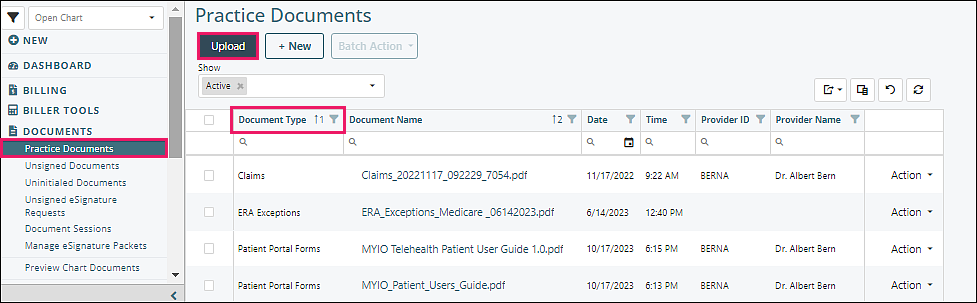
(Optional) Upload any documents to Practice Documents that you would like accessible to ALL patients using MYIO (Document Type = Patient Portal Forms)
Note: These are general forms that all patients in the practice that can access MYIO will have access to, no sensitive/personal documents intended to be viewed by one specific patient should be uploaded using this document type
Documents | Custom Forms Hub (eSignature users)
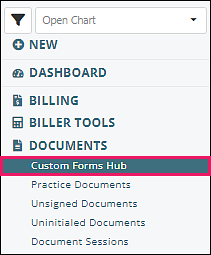
- Custom Forms (Valant eSignature) Overview
-
Custom Forms (Valant eSignature) - eSignature Hub Navigation
- Custom Forms (Valant eSignature) - Building a Form
Reference Data | Appointment Types | New Appointment Type (Patient Portal Appointment Request users)
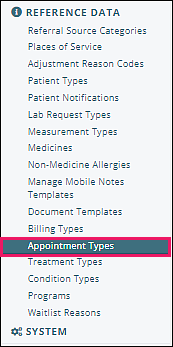
Review the Appointment Requests Configuration section of the MYIO Appointments article to create default appointment request types
DeleteBilling Setup (For practices using the Billing module)
One user, usually the biller, will need to update these settings.
The General Billing Setup article will walk you through this process successfully. Listed below are a few key locations included in the billing setup workflow
Persons & Institutions | Practice
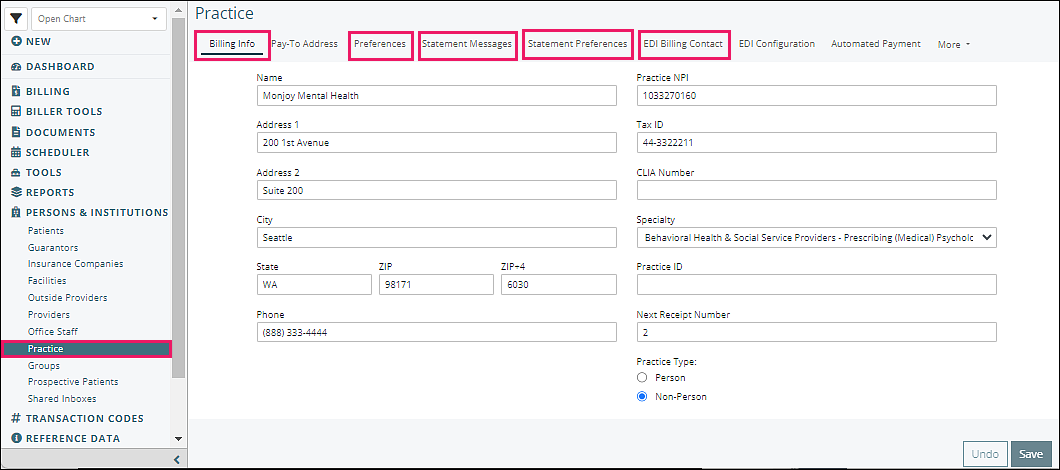
- Billing Info tab - Confirm the practice information is correct (Name, Address, NPI, Tax ID, etc.)
- Preferences tab - Save receipts should be CHECKED
- Statement Messages tab - (Optional) Tailor the messages that will be printed on your patient statements (Standard Message and Statement Footer will appear on ALL statements)
- Statement Preferences tab - (Optional) Review the Creating Patient Statements article to customize the data elements that appear on patient statements
- EDI Billing Contact tab (For practices using a clearinghouse) - You will need to designate an individual at your practice to serve as the main point of contact for your clearinghouse. Your clearinghouse will utilize this information in the event that there are issues with any of your claims. Please be sure to enter a Full Name, including First and Last, and a verified Phone number. Failure to do so will result in the absence of an emergency contact for your practice and may result in unprocessed claims.
Transaction Codes | Procedures
![]()
- Inactive checkbox - Inactivate any default codes that are not relevant to your practice
- Update Description, Fee, Default Appointment Duration, Category, and checkboxes for remaining default codes, as applicable
- Add additional transaction codes, as applicable (E.g. “No Show”, “Late Cancellation”, “Documentation Fee”, etc.) – anything you will charge or schedule must have a transaction code
Persons & Institutions | Providers
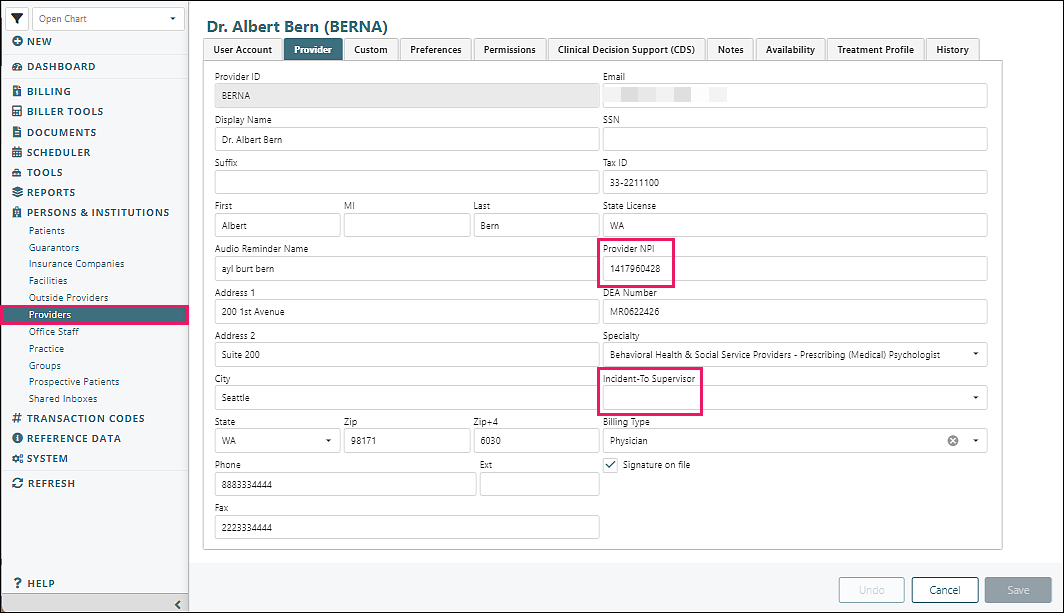
- Provider NPI
- Incident-To Supervisor – (if applicable) Supervising provider that all claims should be billed under instead of the rendering provider
Persons & Institutions | Facilities
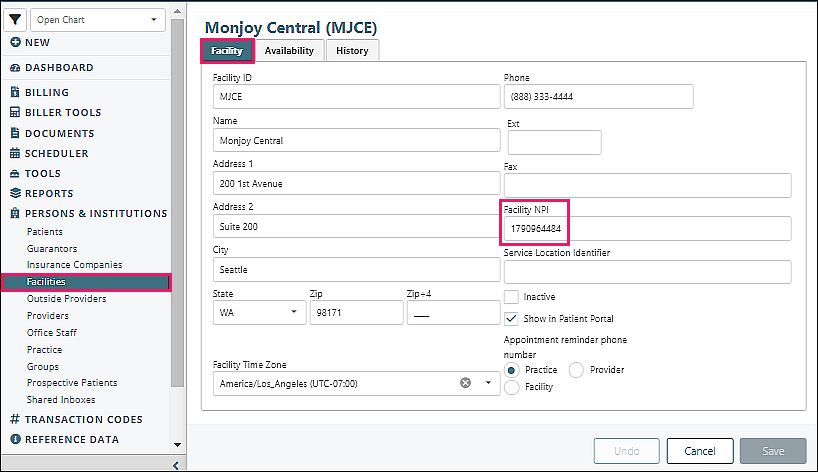
- Facility NPI
Persons & Institutions | Insurance Companies
Navigate to Persons & Institutions | Insurance Companies | Insurance Companies tab
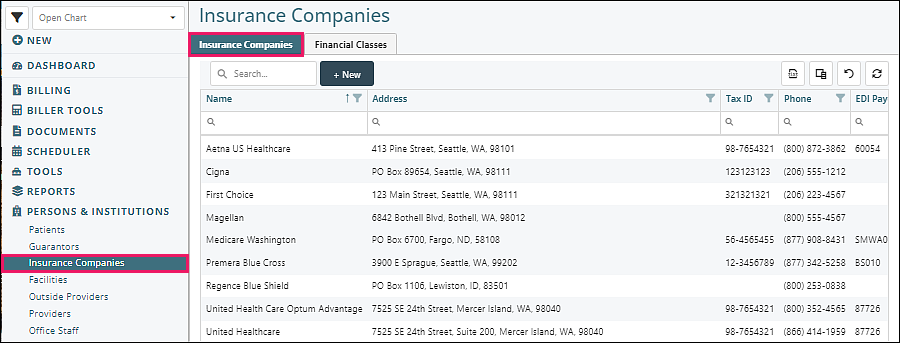
Click + New to add an insurance companies into the system, as applicable
Click on an Insurance Company from the list which opens to the "Insurance Company" tab
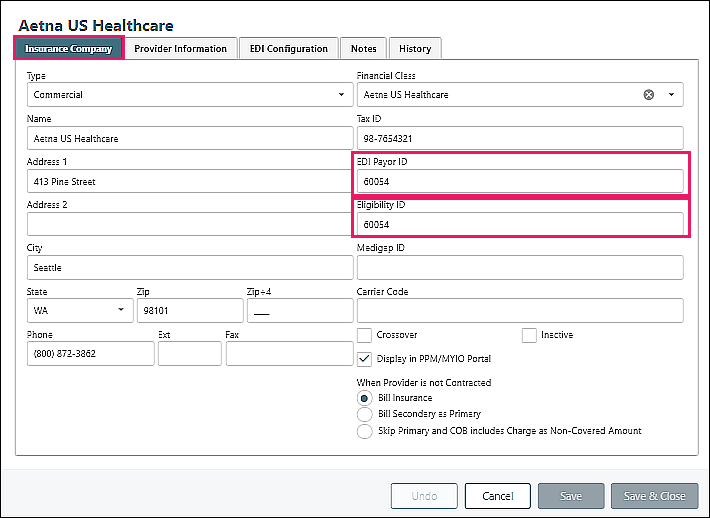
- EDI Payor ID – If using a clearinghouse, enter the payer ID from the clearinghouse (Hint: You only need 1 insurance company record per EDI Payer ID)
- Eligibility ID – (Optional) If you are using Change Healthcare or Waystar as your clearinghouse and you’ve purchased the optional eligibility checking module, enter the Eligibility ID to enable the eligibility checking reports
Click on the "EDI Configuration" tab
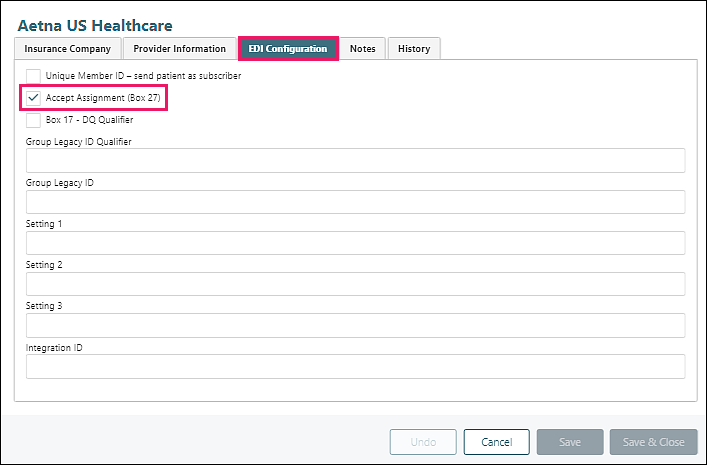
- Accept assignment – should be CHECKED if you will accept payment directly from this company